

|
|
|
|
![]()
|
WHEELS/TIRES
|
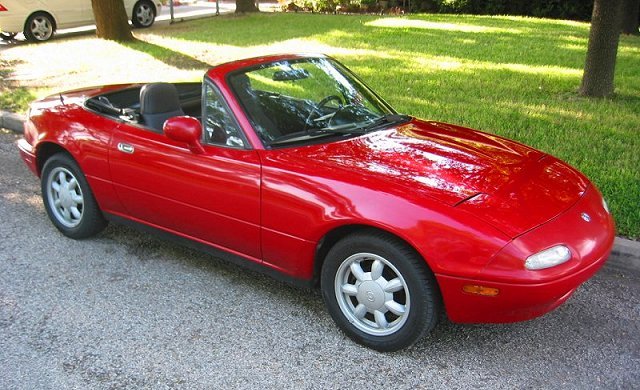
From a few years ago, just after I bought the car.
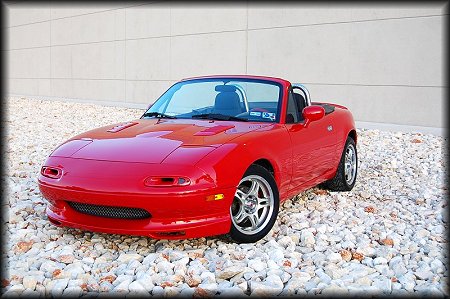
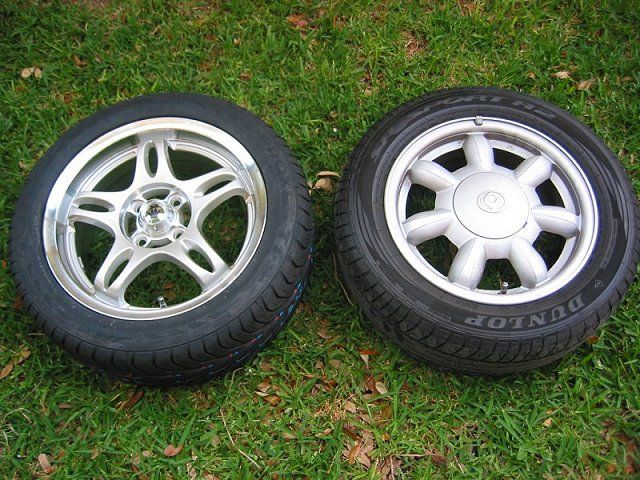
A before and after picture with the new Konig wheels and Toyo tires.

Toyo T1-S 195/50-15 on Konig Holes 15x6.5 40mm

New Rotors and painted Calipers
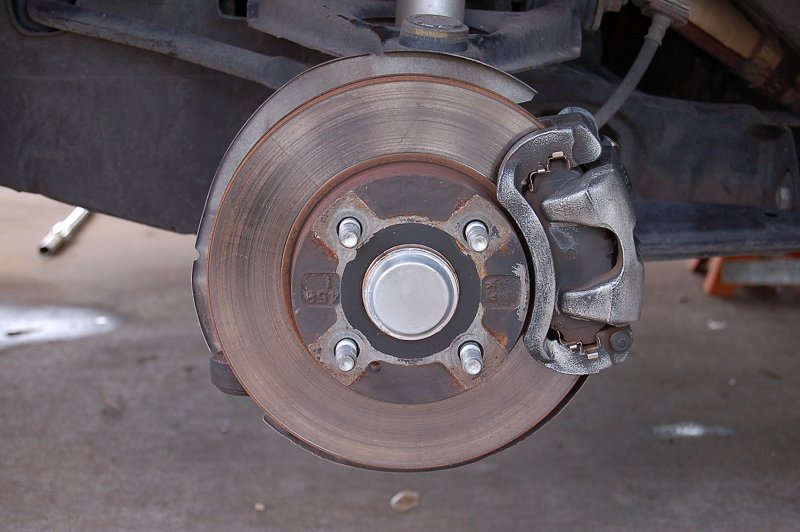
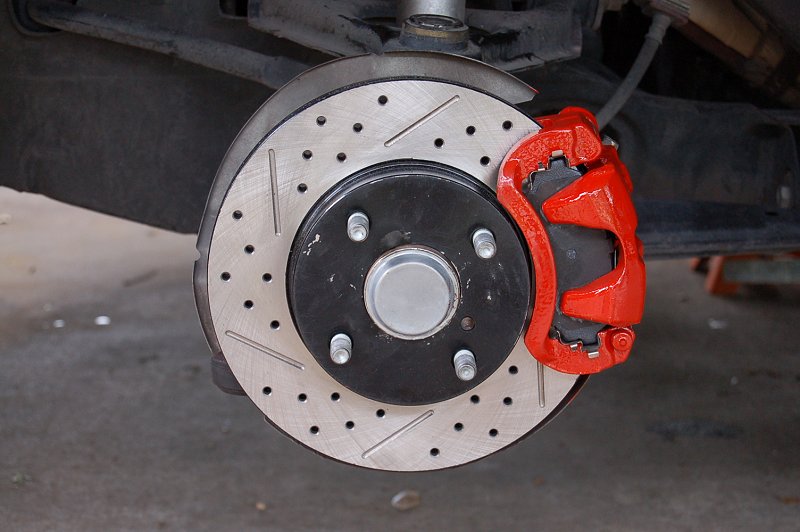
Stock on the left and new rotor with painted caliper on the right.
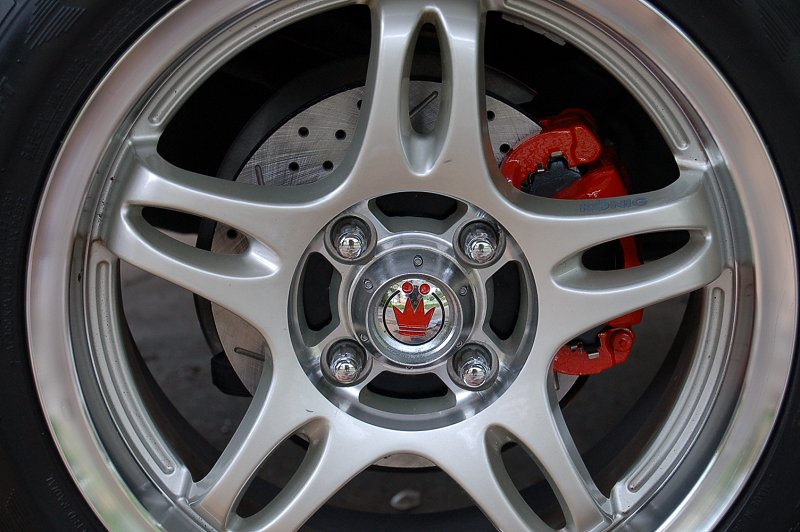

SNew setup viewed through the wheel.

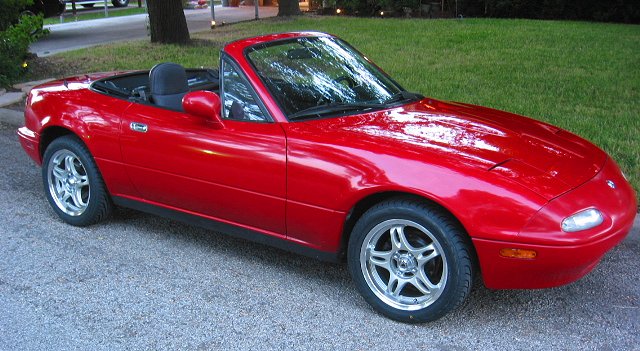
The latest picture, ready to hit the road.
KYB Rear Shocks Install - 341127
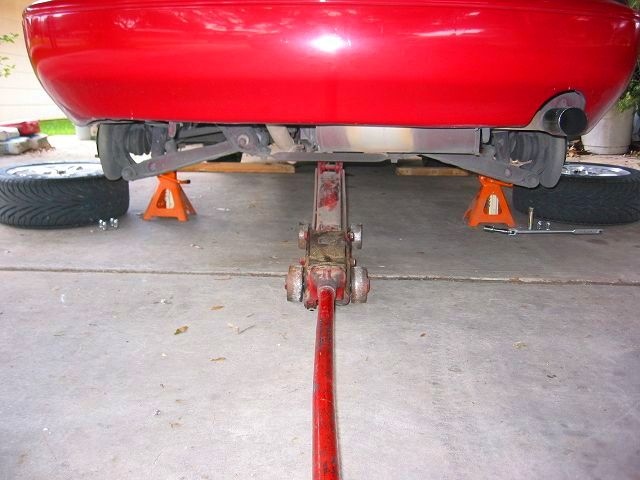


Start by jacking up the car and placing jack stand at the lift points.
I used some wood strips to spread the load and avoid any possible paint damage.
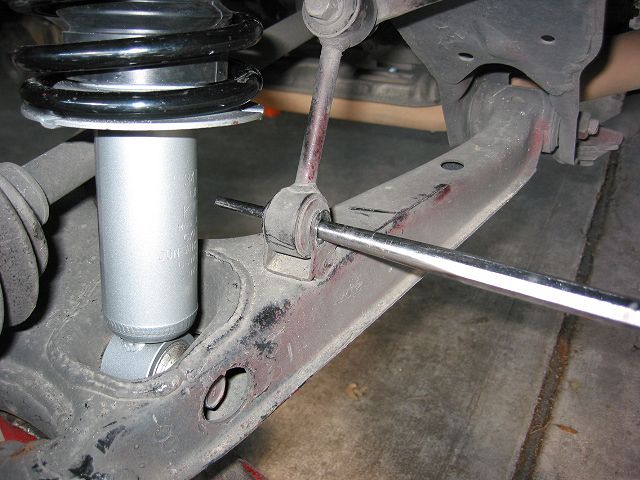
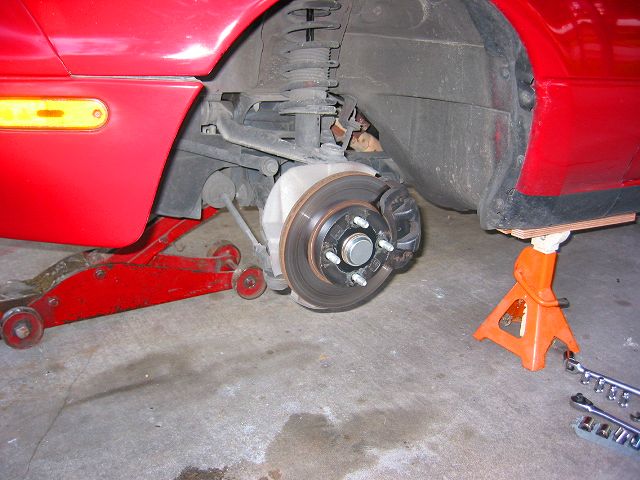
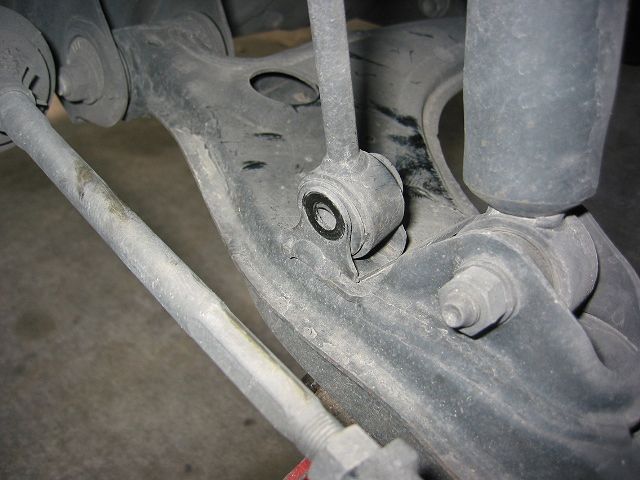
Supported the A-arm with the floor jack and unbolted the sway bar link
(14mm).
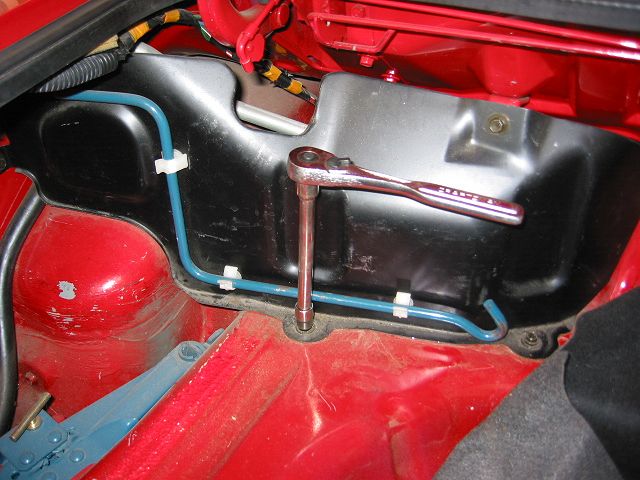
Then in the trunk to remove the cover (10mm) to get access to the top two
shock mount 14mm bolts.
Back underneath to remove the 17mm lower bolt.

I used a crow bar to get some leverage and pulled out the shock assembly.
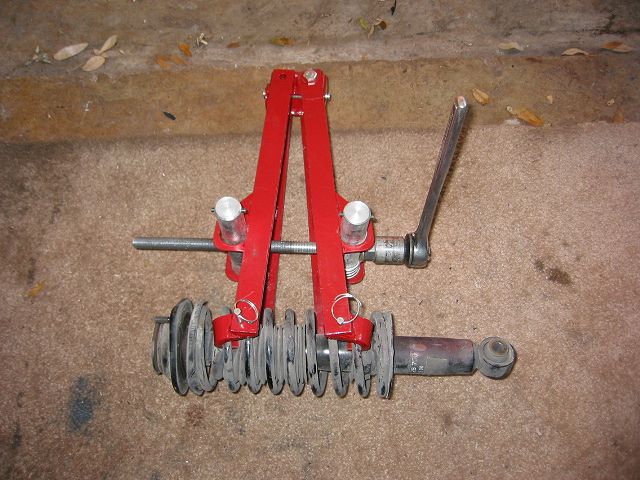
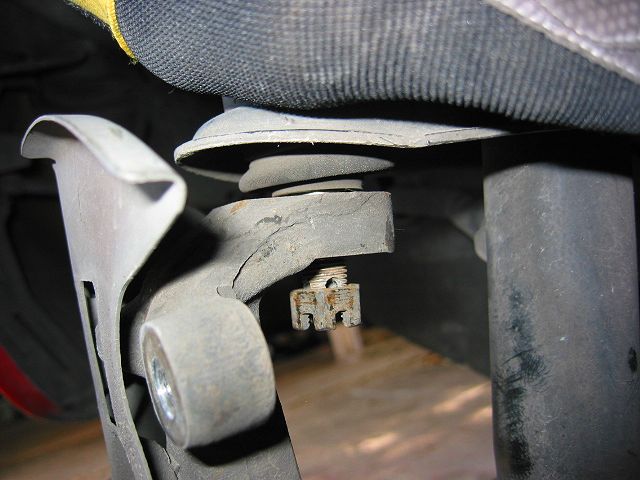
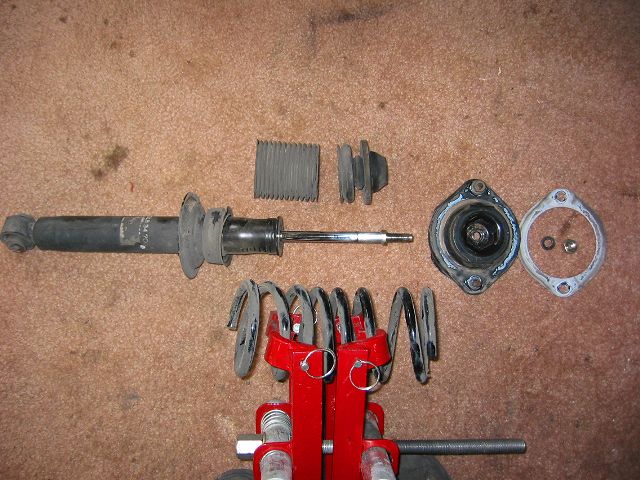
Used a clam shell type spring compressor to remove the top shock bolt.
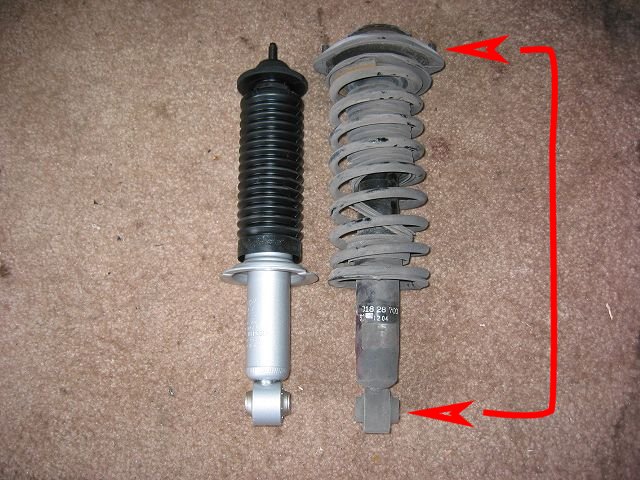
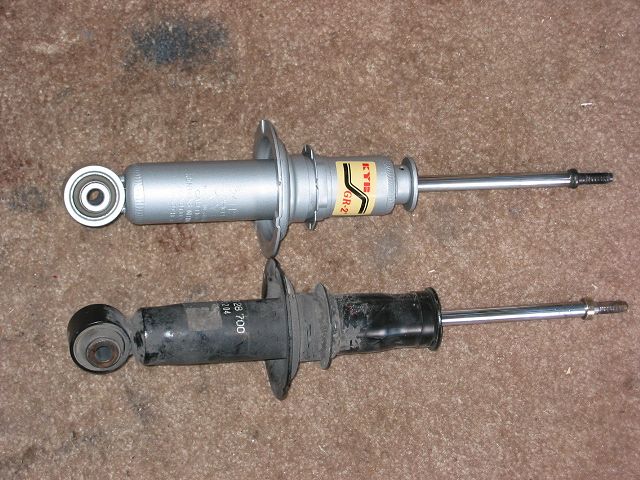
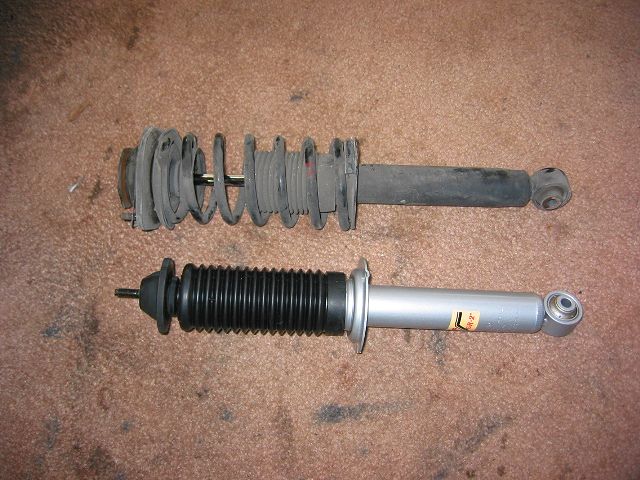
A side by side comparsion of the KYB and stock shocks.
View with the spring off. You then reverse the process to add the spring
to the new shock.
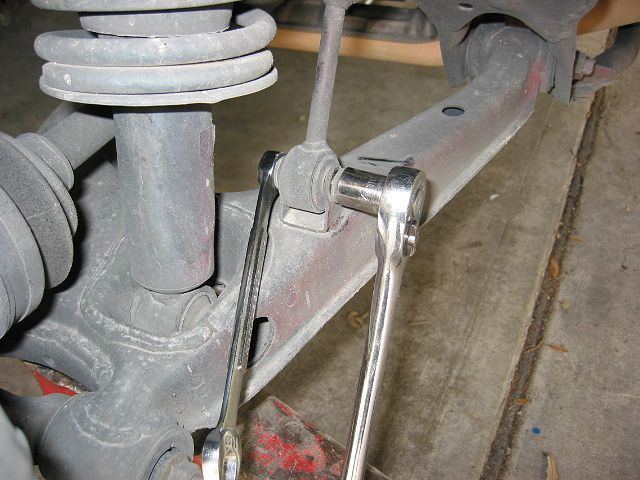
A awl or long chisel is a handy tool to realign the sway bar link, so you
can get the bolt in easily.
Put the bottom shock bolt in next and then the top shock bolts.


The floor jack is used to lift the A-arm so you can get the bolts back
in.
Finished left and right sides. I did a little cleaning while I was at it.
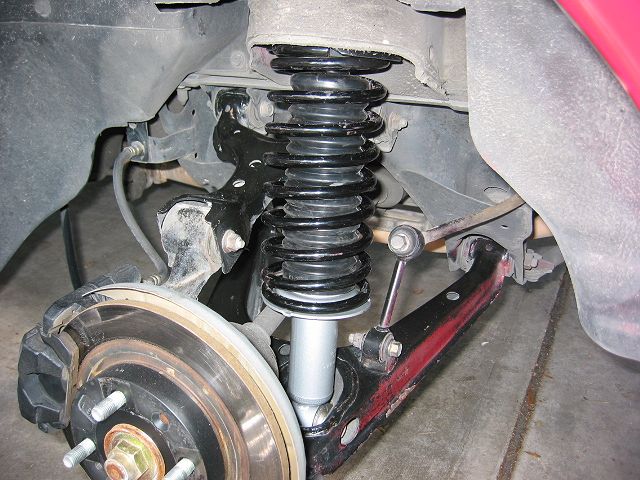
KYB Front Shocks Install - 341126
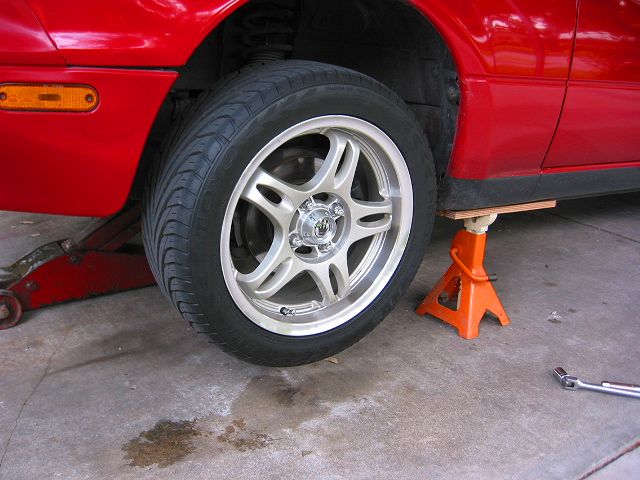
Again, I start by jacking up the car and placing jack stand at the lift
points.
I used some wood strips to spread the load and avoid any possible paint damage.
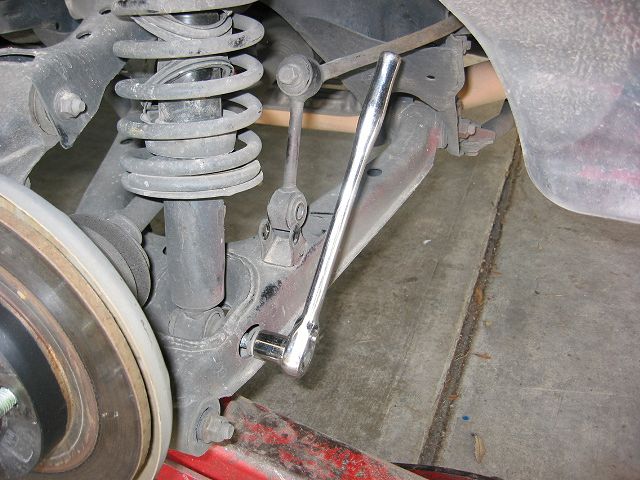
Removed the wheel and the sway bar link lower bolt & nut (14mm).


Supported the A-arm with the floor jack to take some of the tension off
the suspension.
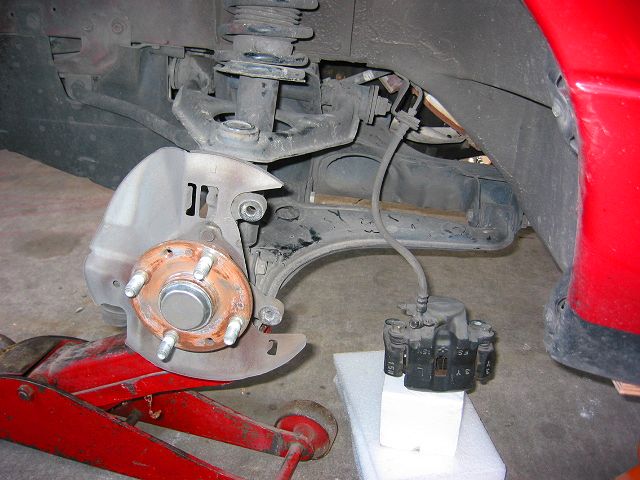
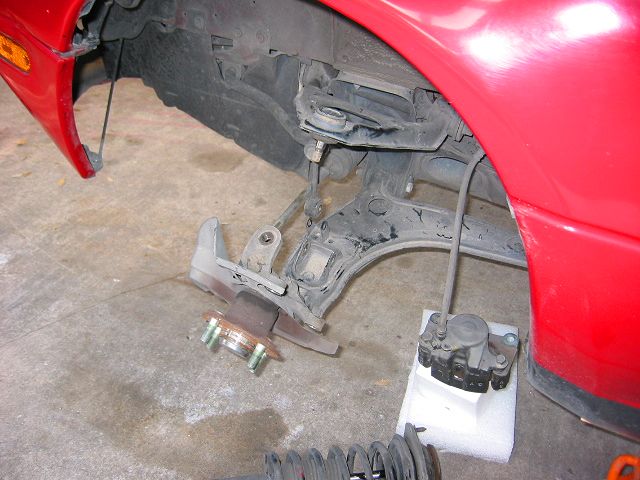
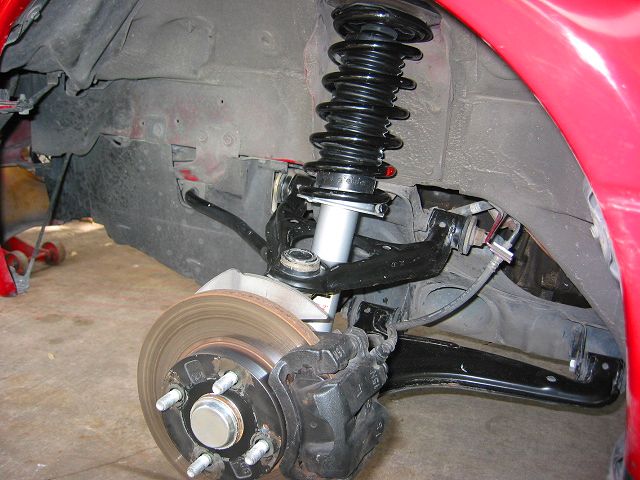
While not necessary, I did remove the brake caliper to allow for easier access.
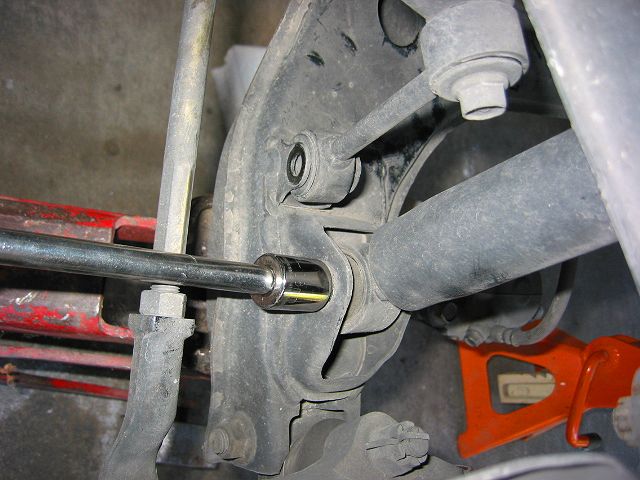
Loosened the upper ball joint nut (18mm), but did not remove it.
Now an old mechanics trick. I used a brass hammer to allow me to hit the ball
joint saddle.
Do this a couple times per side, switching sides until it pops loose.

Now press down on the upper A-arm so you can remove the nut.
The arm is now loose and will allow you to remove the shock assembly.
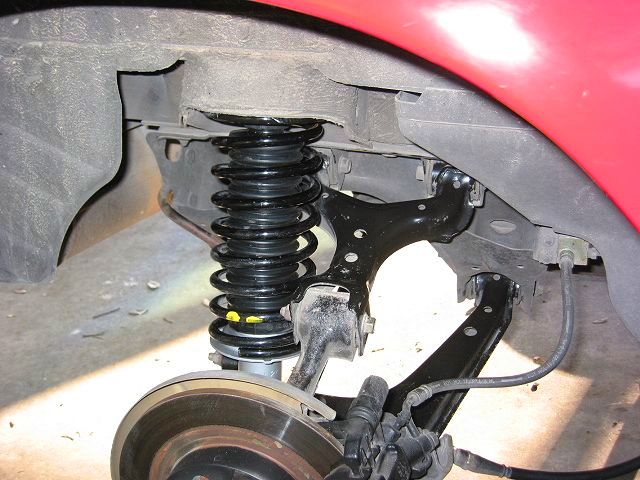
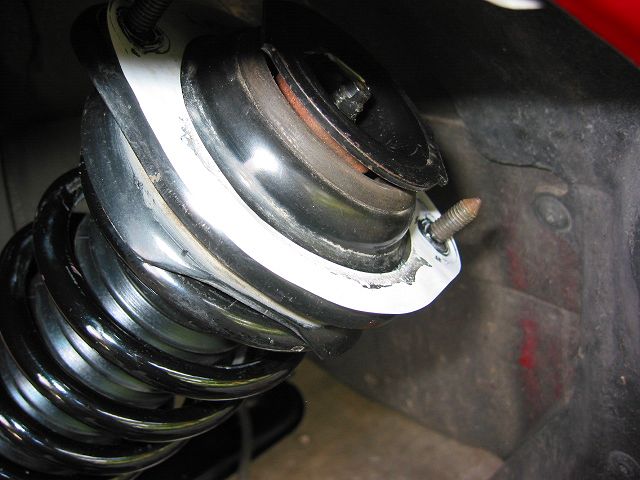
Pop the upper shock bolt cover off.

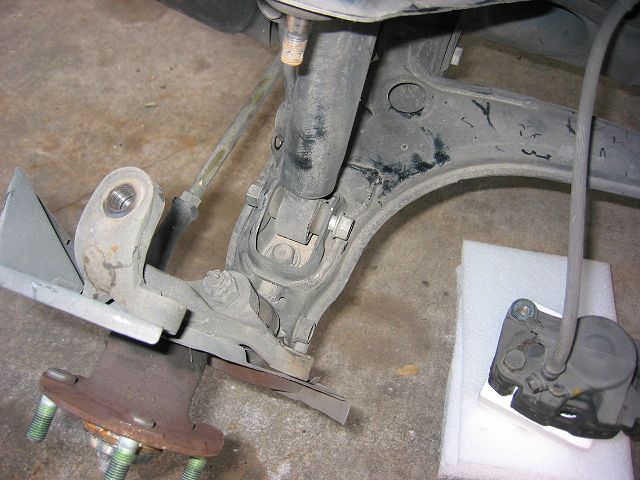
Remove the two upper shock mounting bolts (14mm).
Back underneath to remove the lower shock bolt & nut (17mm).
I stepped on the lower A-arm to push it down far enough to remove the shock.
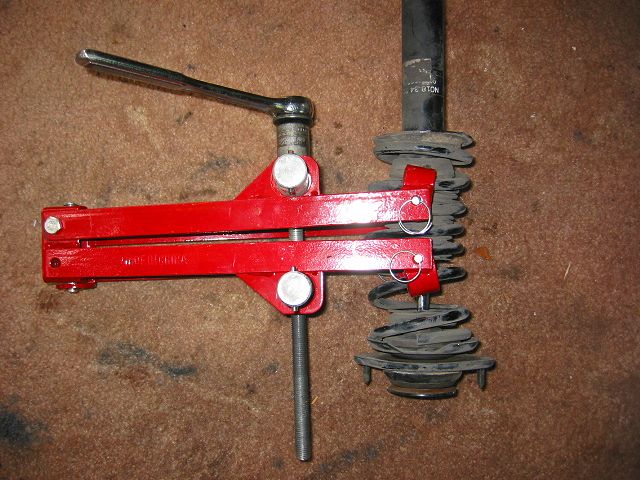
Shock removed, now a clam shell type spring compressor to remove the top
shock bolt.
Picture of the old and new shocks for comparison.
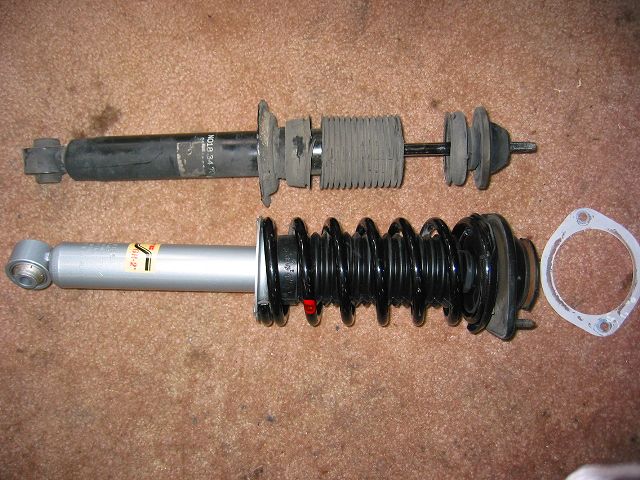
The shock breakdown, new shock installed and suspension area cleaned up.

I chose to clean the upper shock support before installing the new shock.
Don't forget the nylon gasket before installing the new shock.
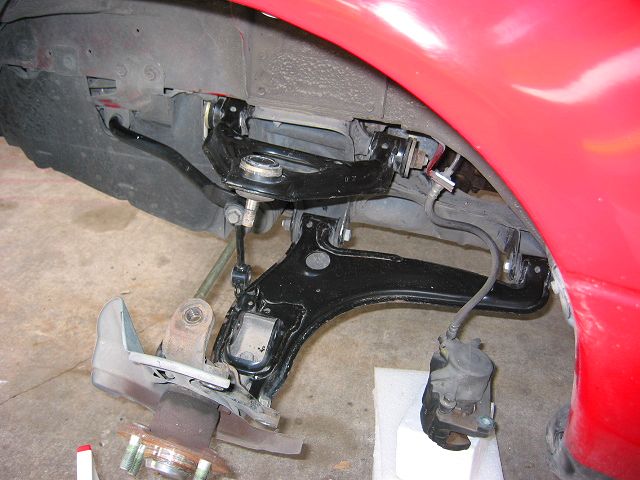
Job complete and already looks lots better.
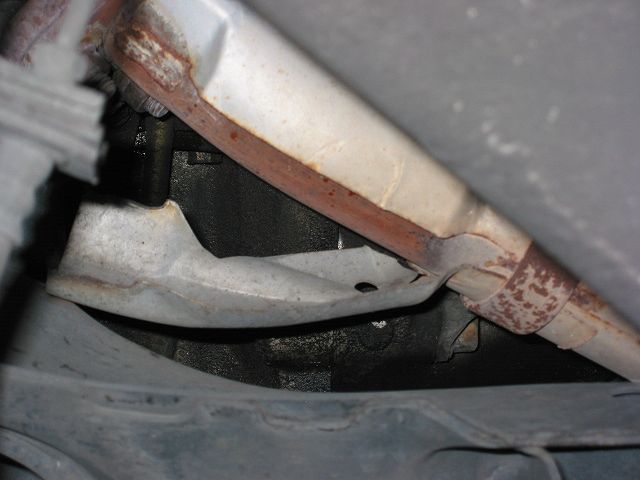
While I was changing the front shocks, I found a piece of the exhaust
sheild had broken off.
I knew I was hearing a rattle. All fixed now. It was easy to just pull off,
as it was ready to fall off.