![]()
|
ENGINE
|
| |

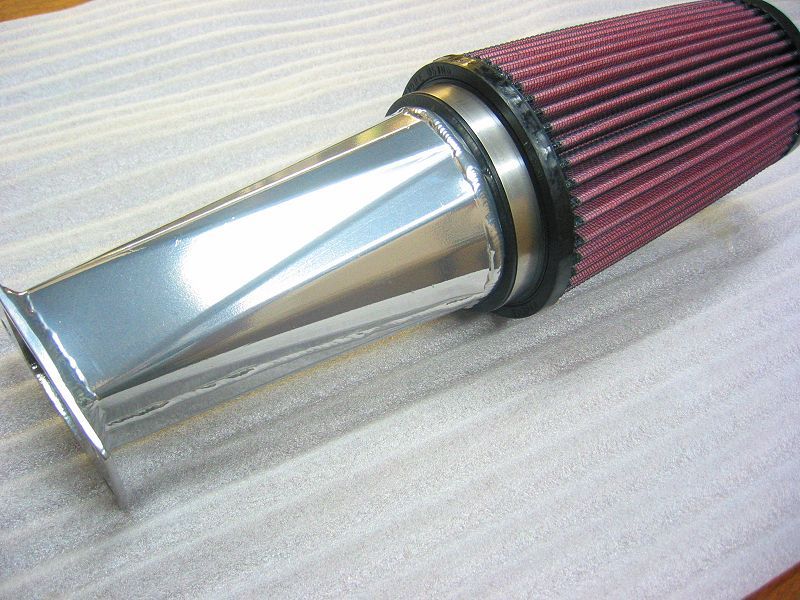
Developed by a competitor in the SPEC Miata series,
this is bolt on horsepower.
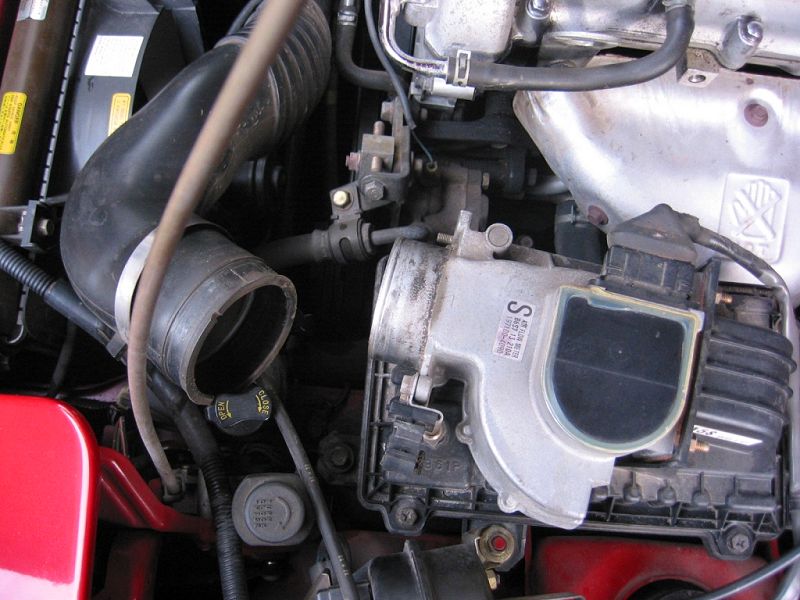
I started by removing the crossover tube from the MAF sensor.
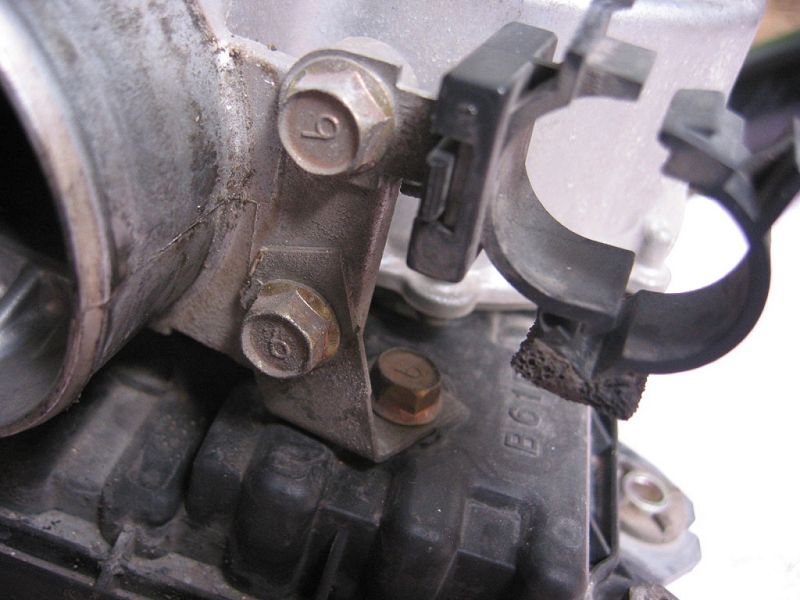
Unbolted the front airbox mounting bolt, then the side bolt that holds
the cruise control actuator and airbox.
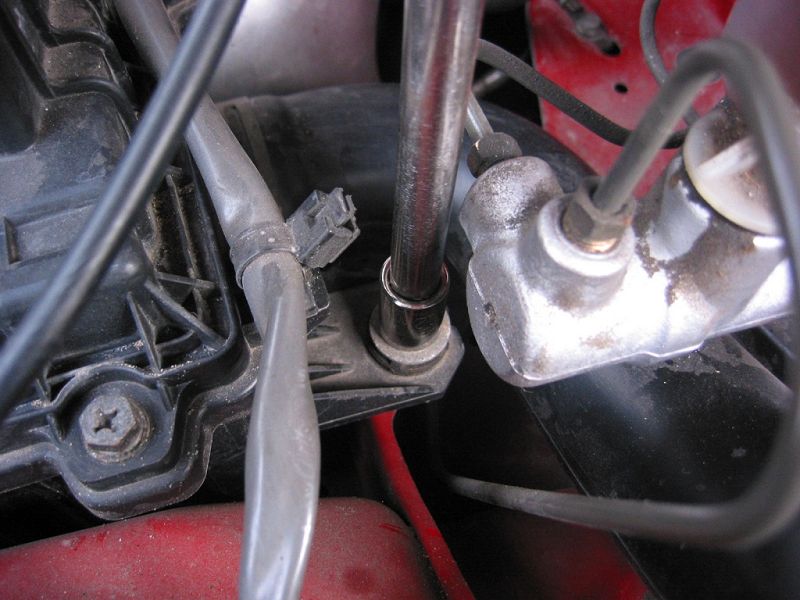
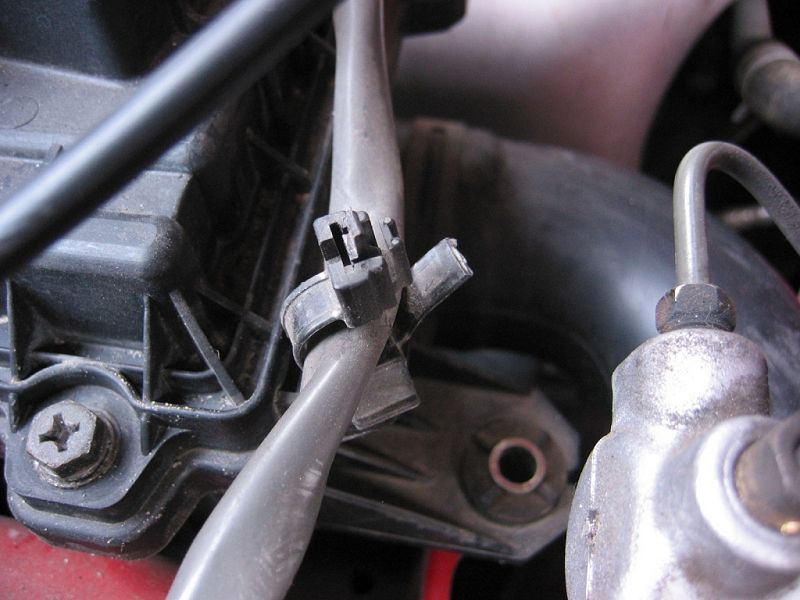
Unbolted the rear of airbox and unclipped the MAF wiring strain relief.
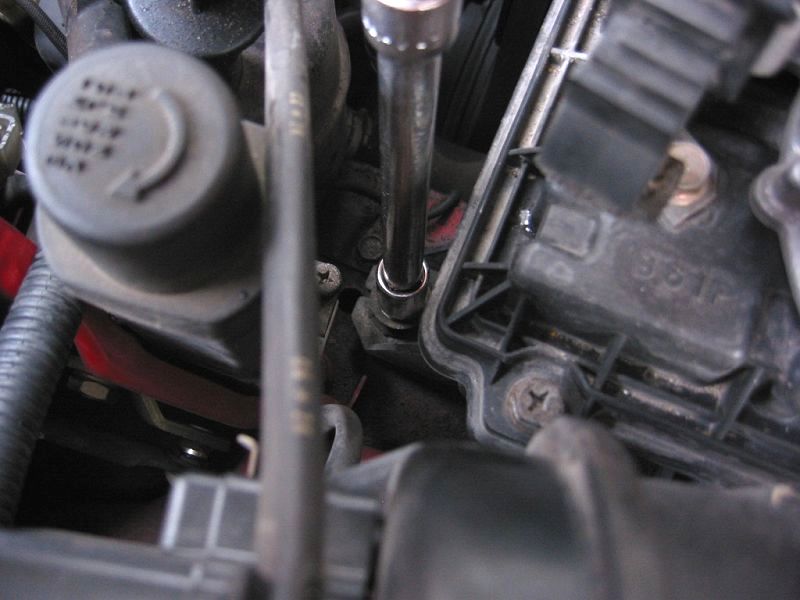
You need to remove the sprnig wire clip that holds the connector to the MAF
sensor.
Last was to unbolt the airbox snorkle and pull the airbox out.
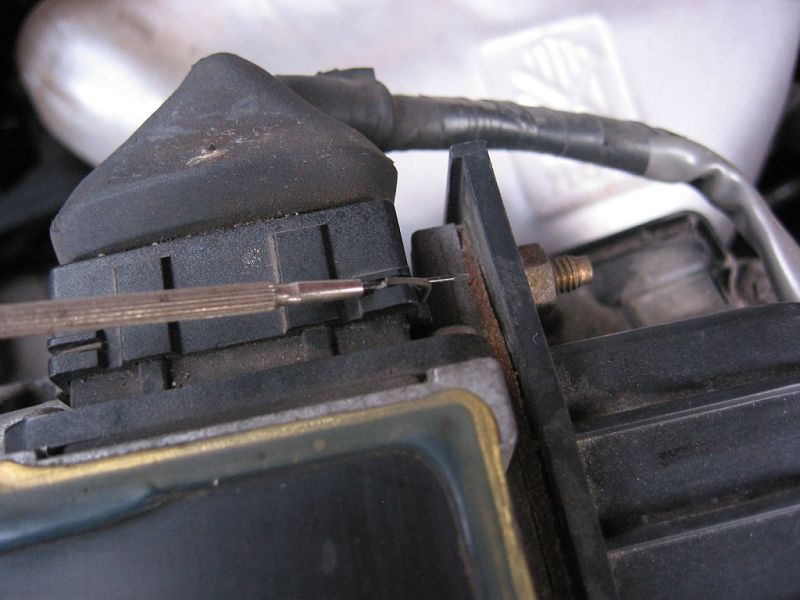
On the bench I removed the MAF sensor from the airbox.
The wire harness ring and airbox mounting bracket need to be removed too.
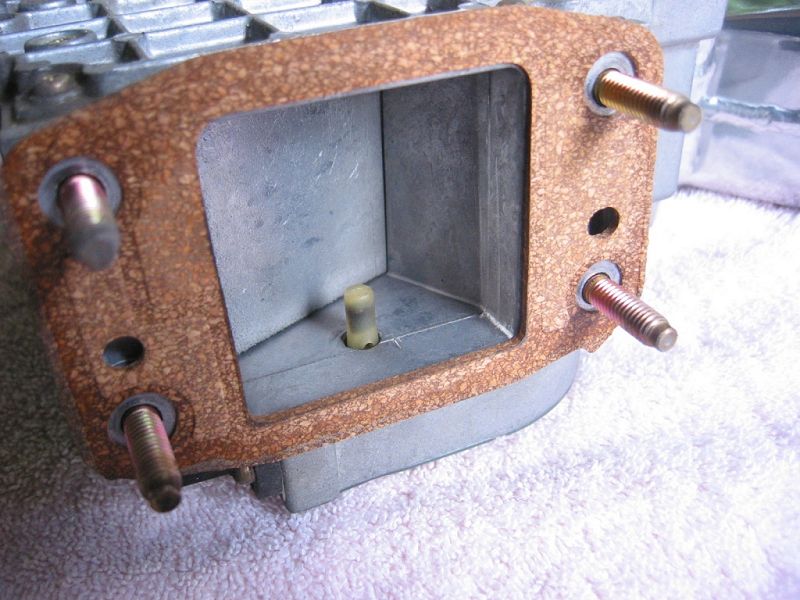

Check to make sure the cork gasket has not squeezed into the air path.
If it has, just cut it flush with a razor or knife.
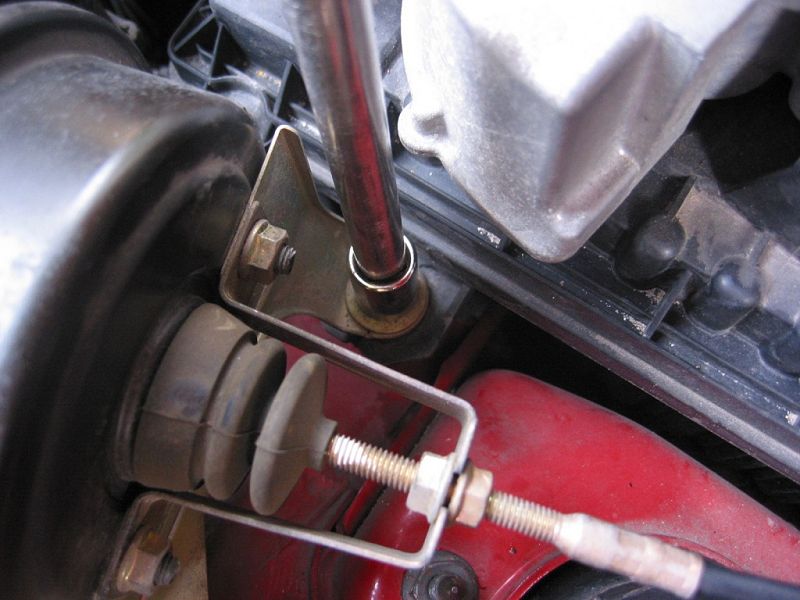
Now here is where I ran into my first mod. As this air intake was developed
for racing,
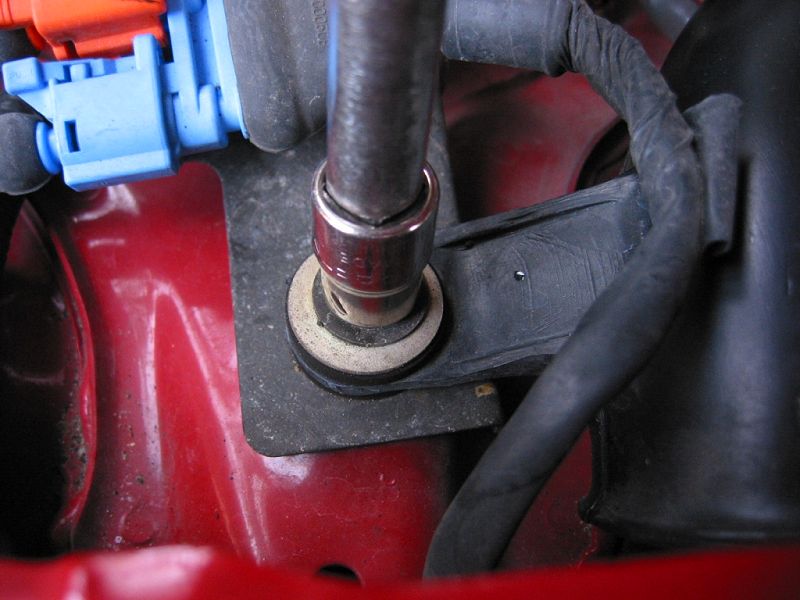
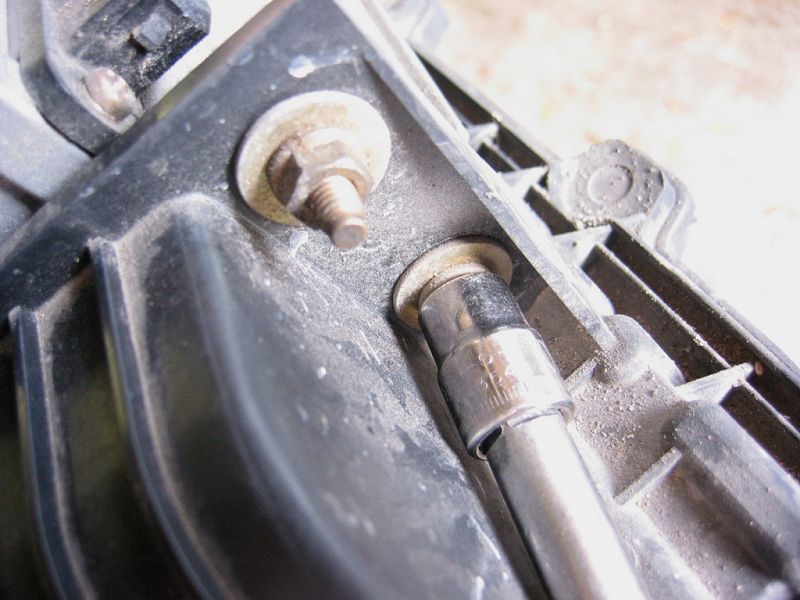
they did not have to contend with power steering or cruise control. I removed
the rear
power steering resevoir mounting bolt, as the new MAF sensor bracket hits
it.
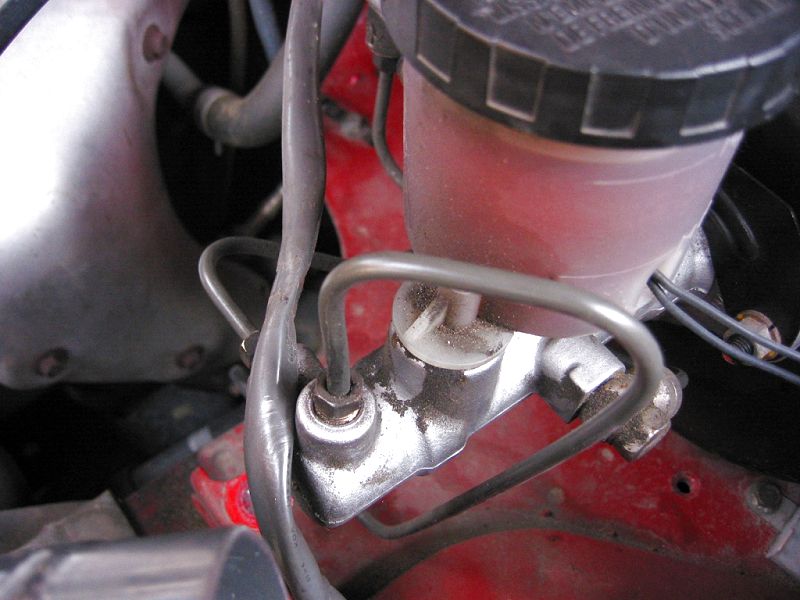

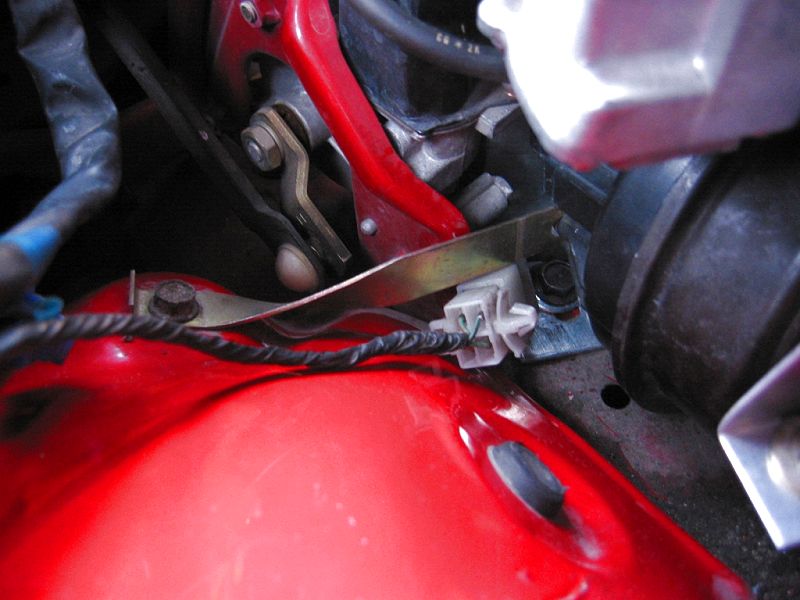
I very caref ully bent back the brake line to clear the new K&N
air filter.
The next pictures show the relocaton of the cruise control and custom brackets
I made.
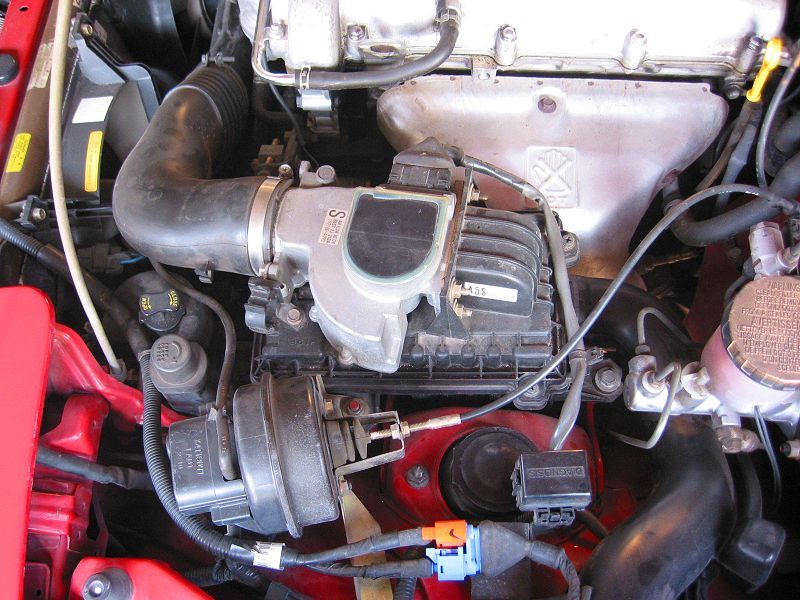

The before and after shots.
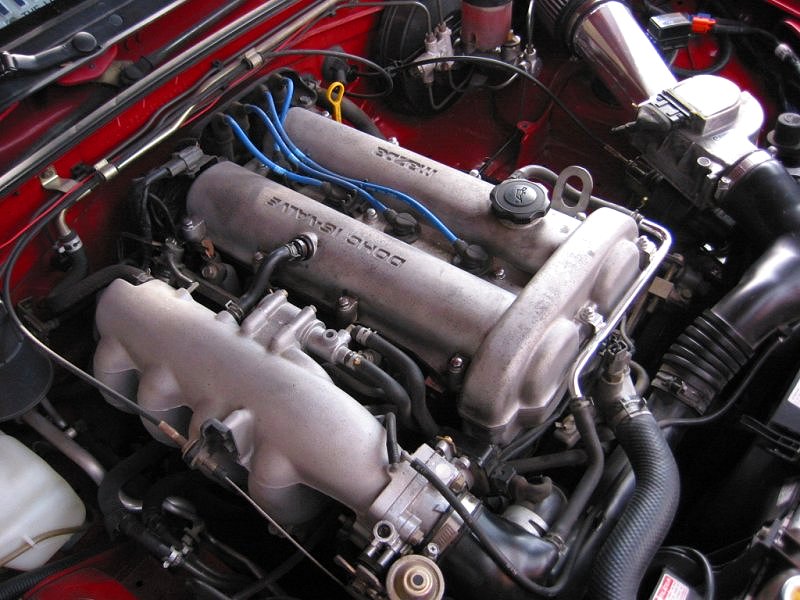
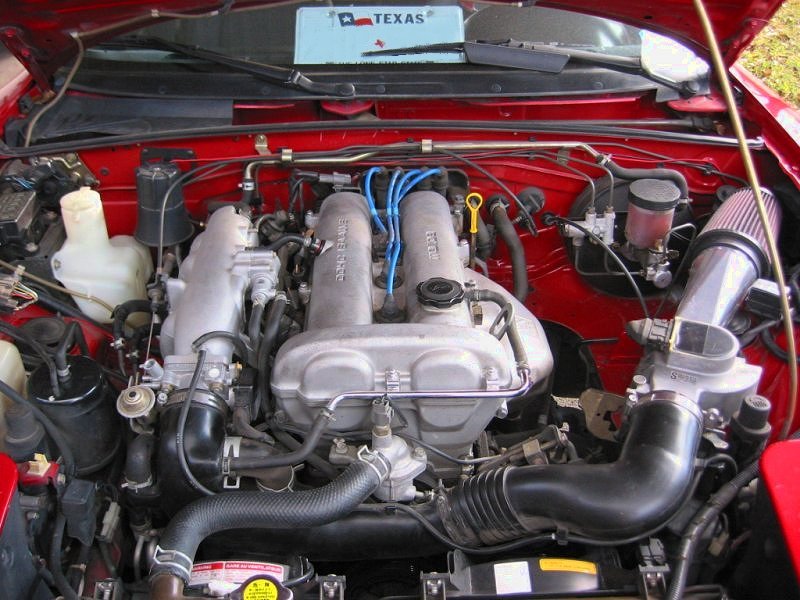

Here is the stock setup in all it's OEM glory.
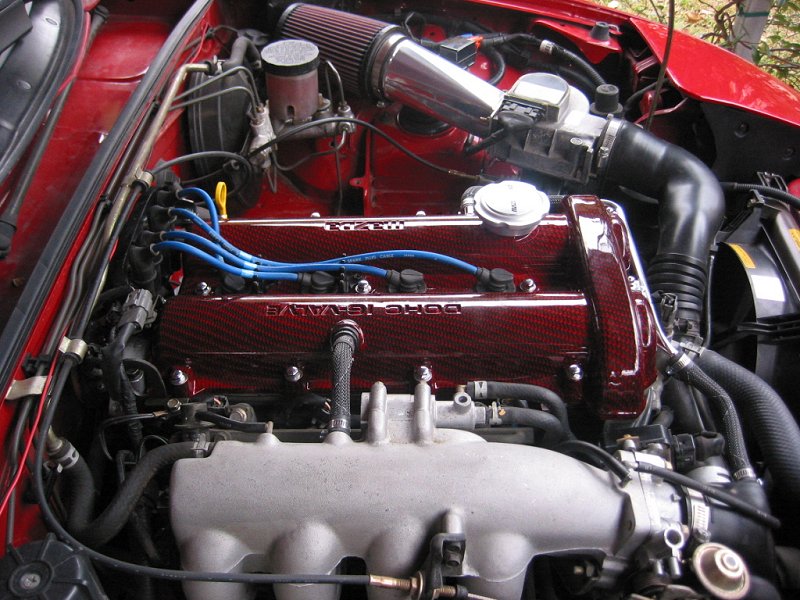
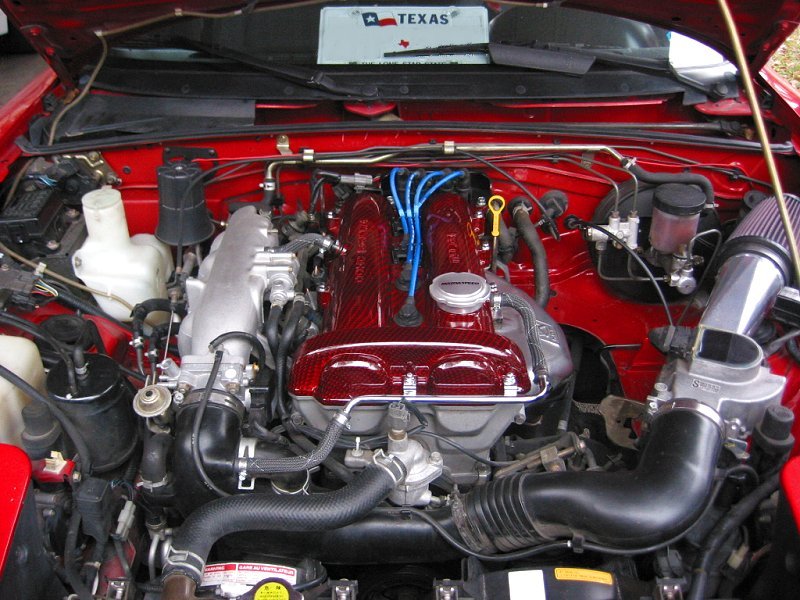
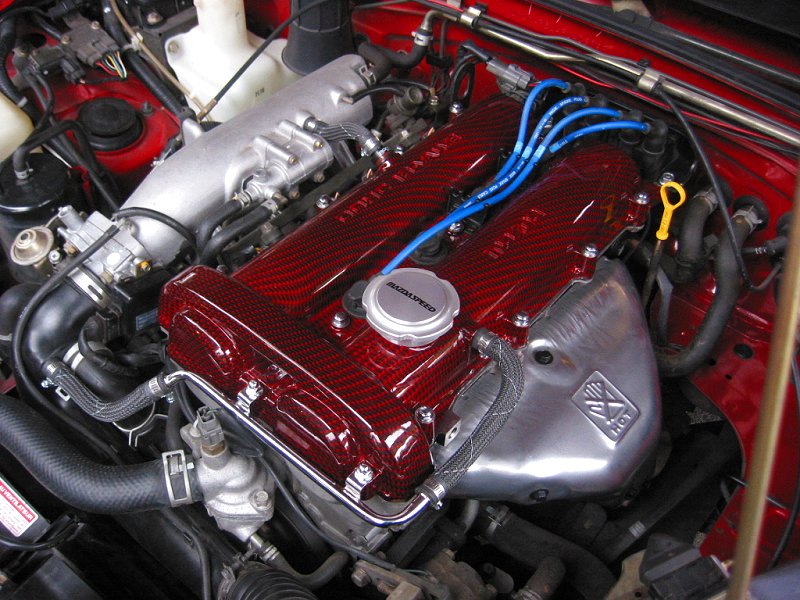
The custom valve cover from TurboHoses.com
and a Mazdaspeed cap.
I also added braided hoses and polished the header heat shield.
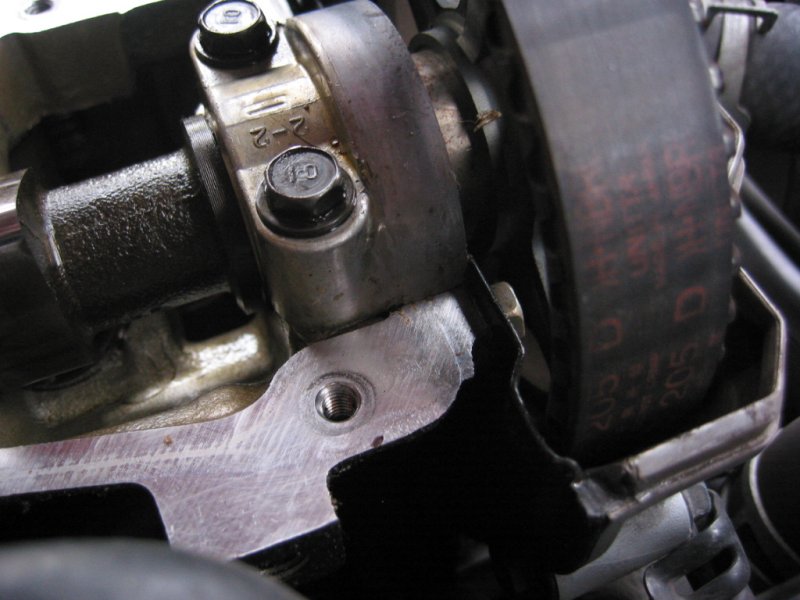


Closeup of some caps that need silicone sealant in the corners and diagram.
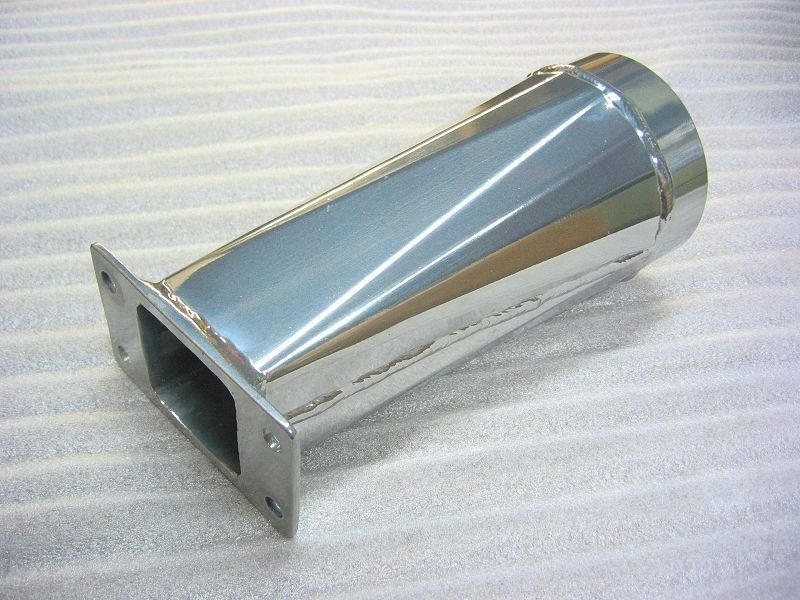
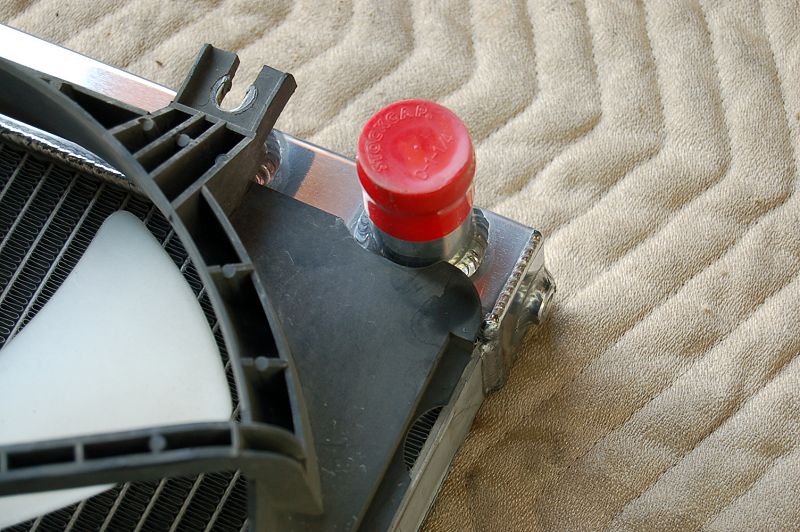
I bought this online at http://www.trackdogracing.com/
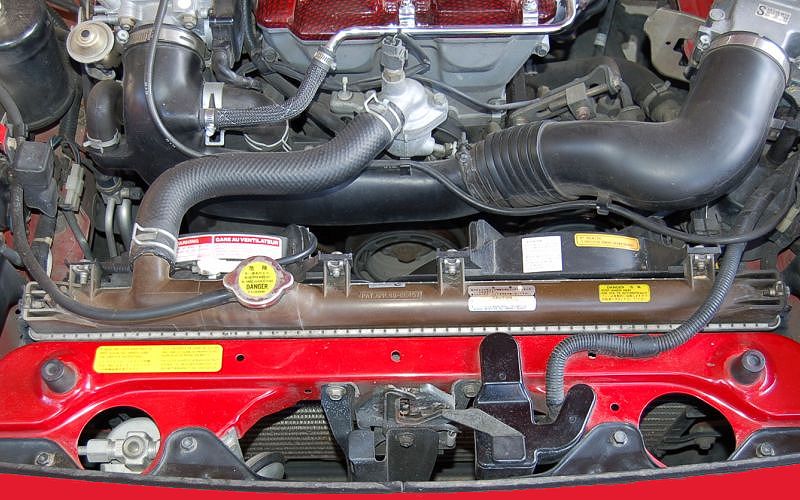
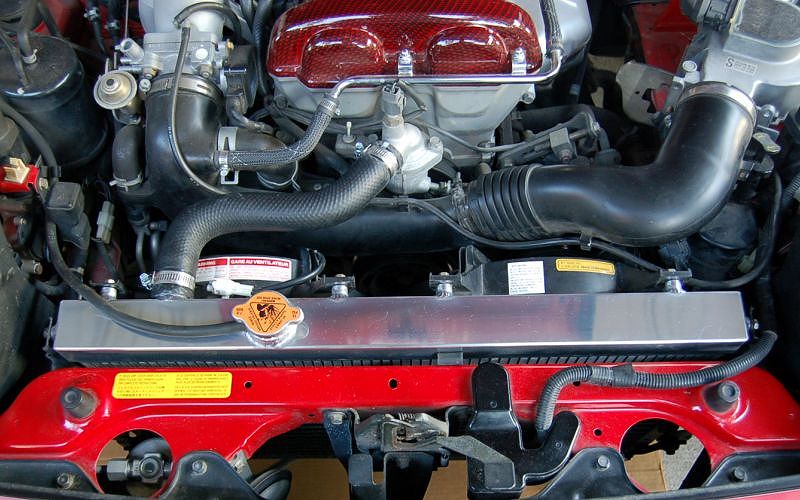
On the left is the stock setup and the PWR on the right.

Again stock on the left and PWR on the right.

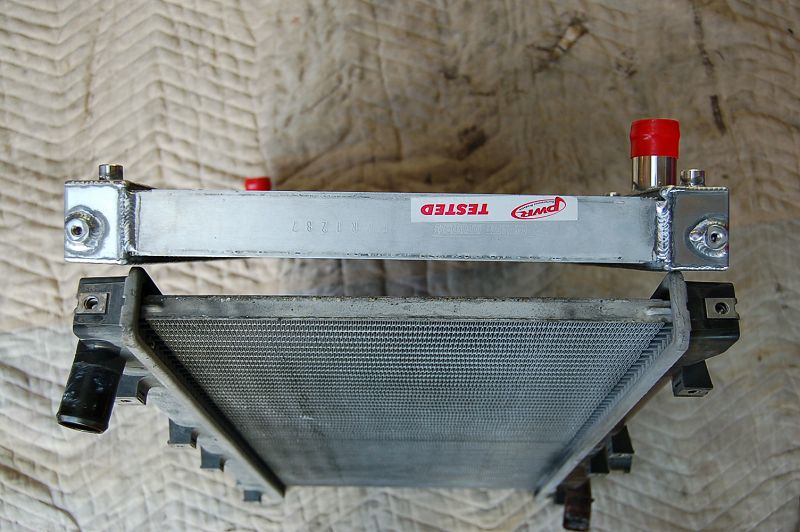
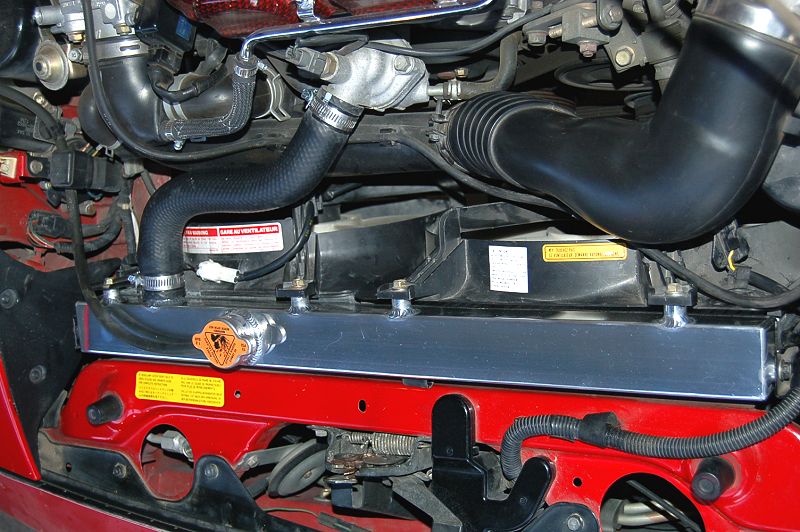
The PWR is a major improvement over stock as evident by these pics.
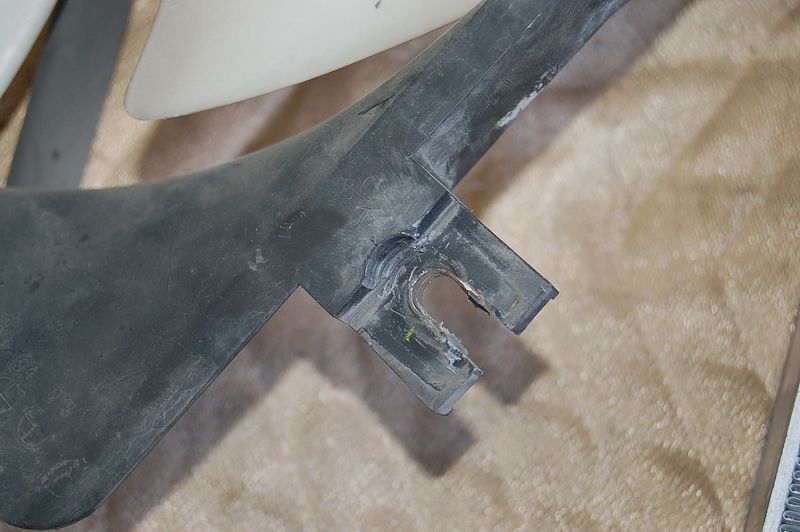
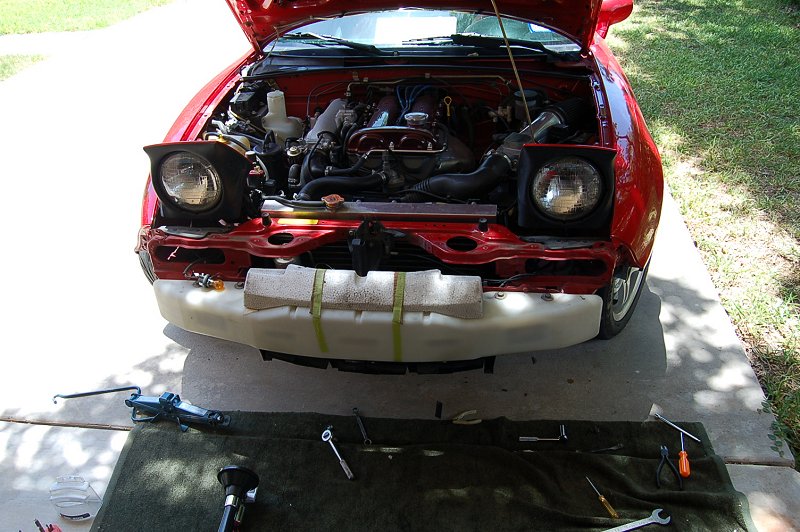
Now it did take some slight modifications.
The driver side fan shroud was trimmed to fit around the lower neck.
The lower tangs inside edge cut with a dremel sanding disc and slot cut deeper.
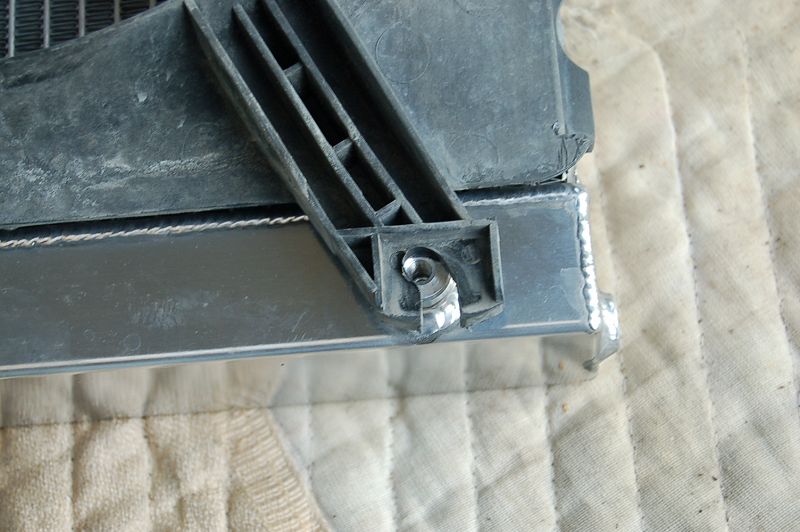

The passenger side needed some pretty serious cutting to fit as you
can see.
This was not a problem with the dremel cutting plastic.
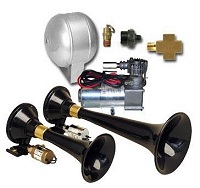
Here are the Kleinn 220 horns and Kleinn 6250 compressor.
I removed the front bumper to ease the install, but it can be done with it
on.
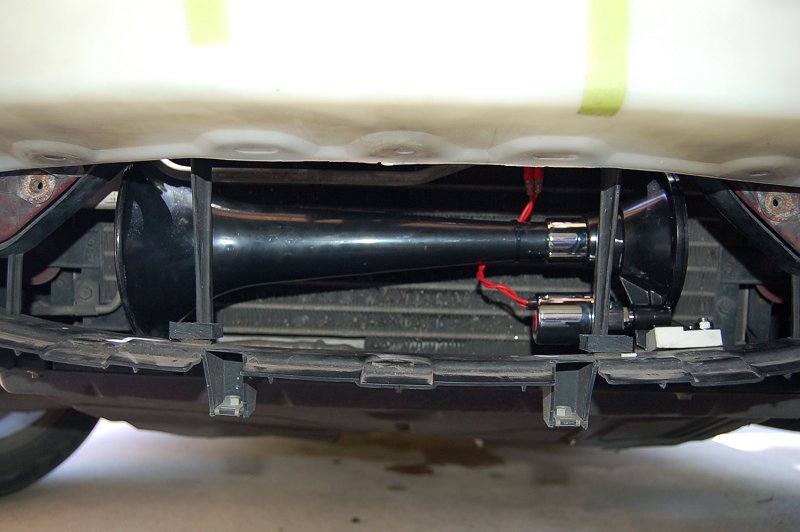
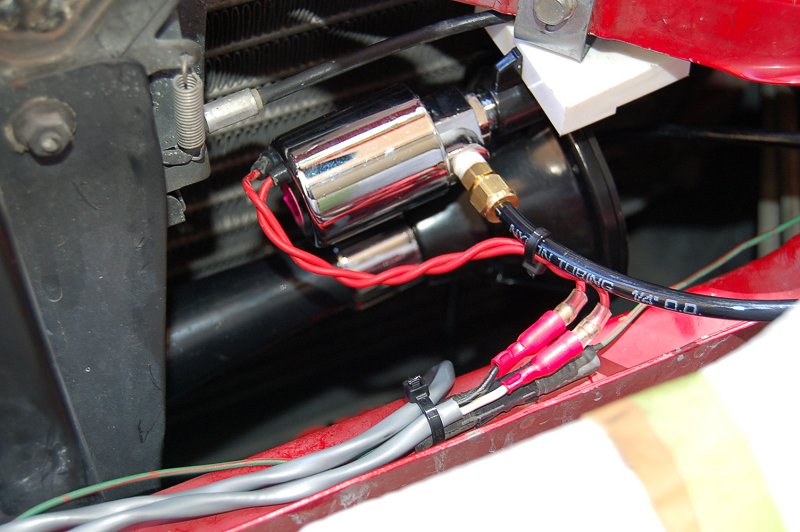
The lower horn bolted to the pan and the upper horn bolted to the radiator support.
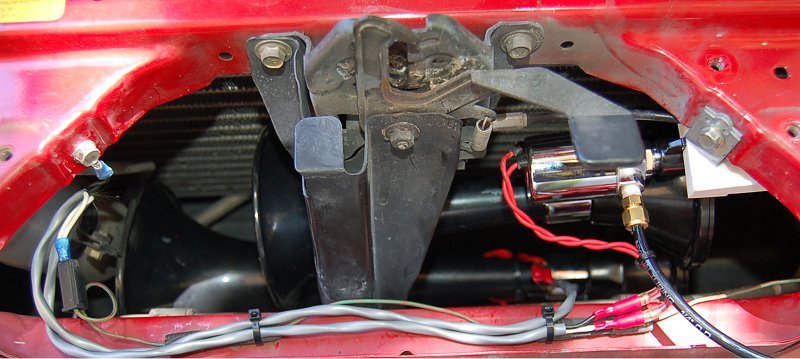
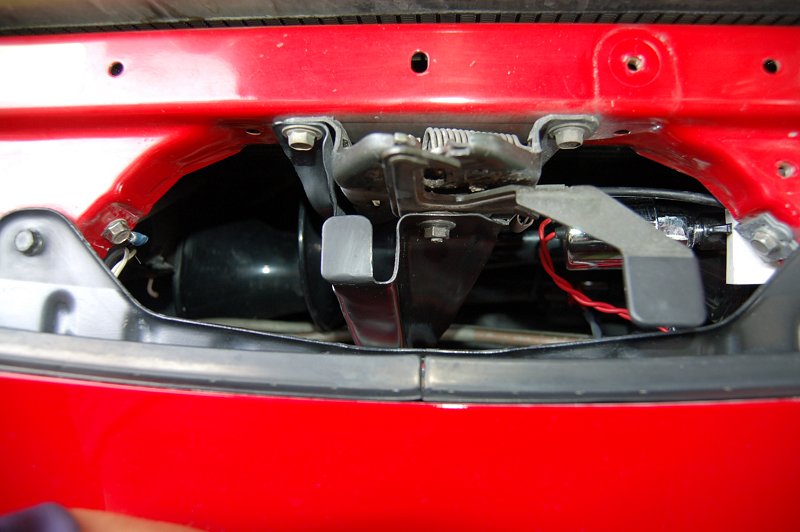
I use the Kleinn 6850 wiring kit to install the system.
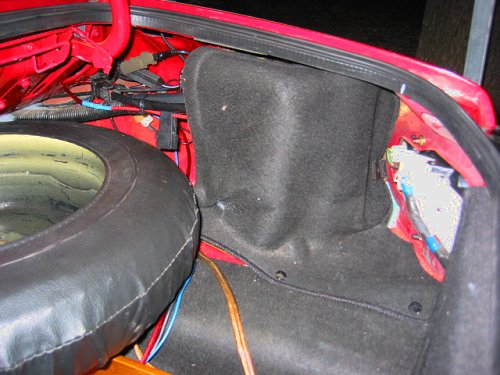
The compressor and tank are in the trunk.
The last picture is the finished install.
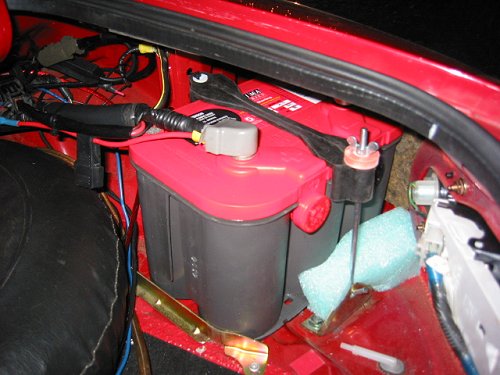
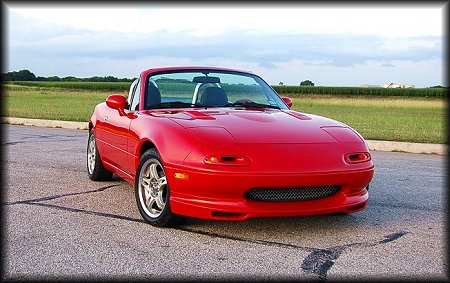
When my battery died during a serious cold snap, I needed one right then.
While the typical choice would be a Optima 35-910 or Optima Yellowtop 51R,
I picked up a Optima 800U, because it's what the local speed shop had in stock.
It is a serious 800 CCA and larger than the others that almost drop in.
I had to bend the floor brace, turn the mount bracket around and buy a top
mount.
I stuck some high density foam in as added insurance, although it's not really
needed.
The Miata is unstoppable now. Almost cranks itself. LOL!