


|
|
|
|
![]()
|
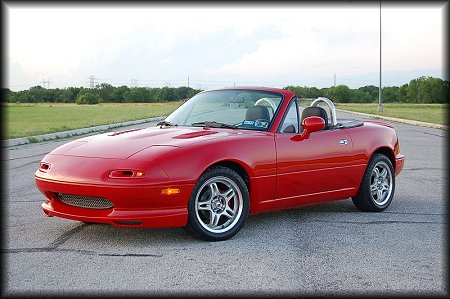
EXHAUST
|
![]()

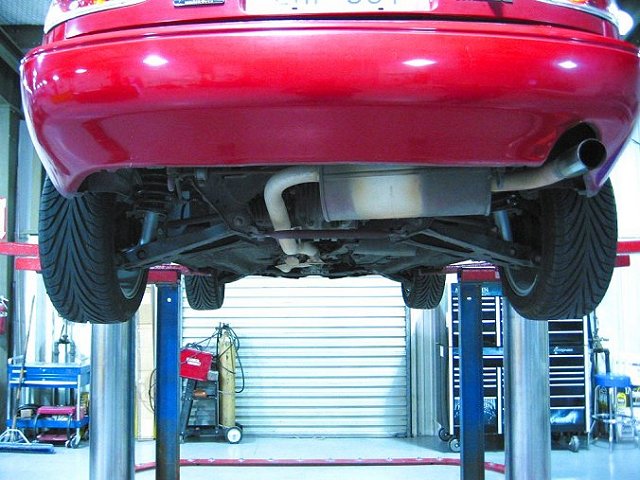
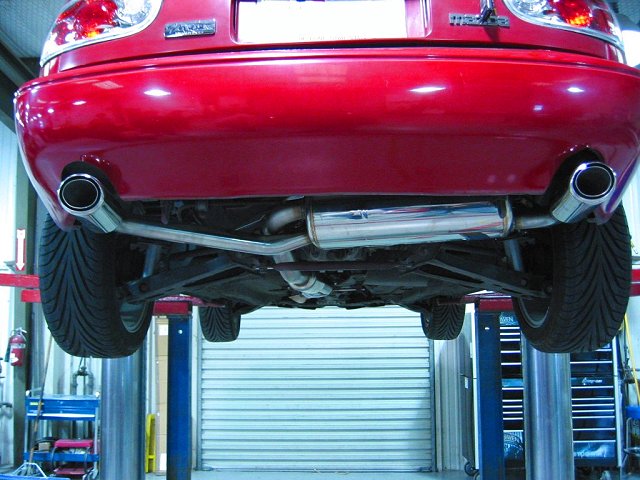
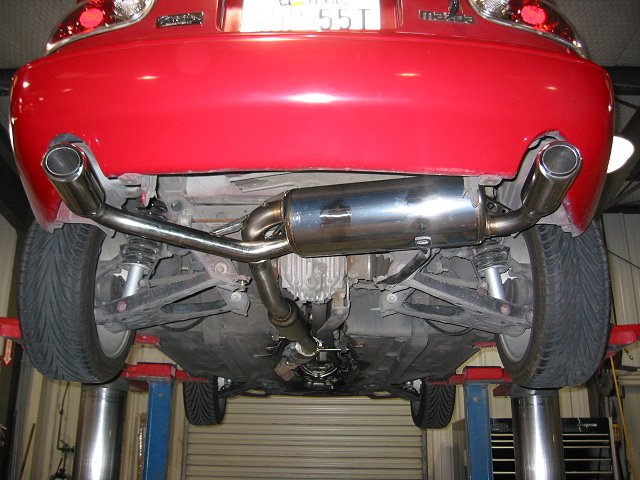
Here is a quick before and after shot.
You can click on any pic to enlarge.
Now on with the install.
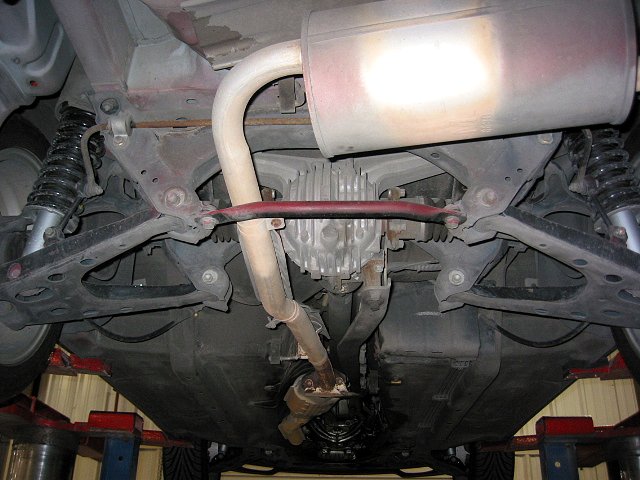
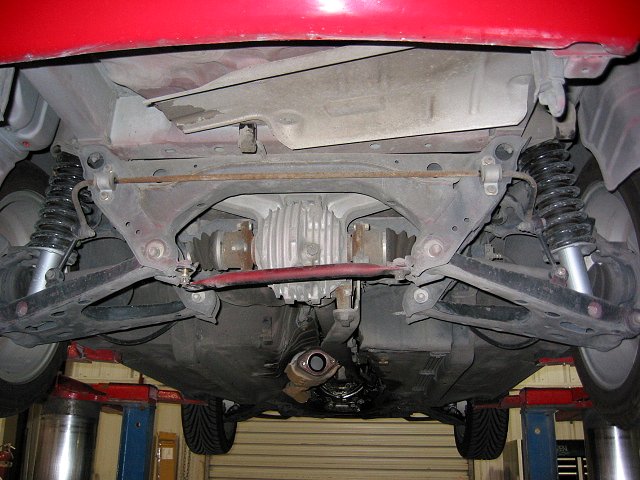
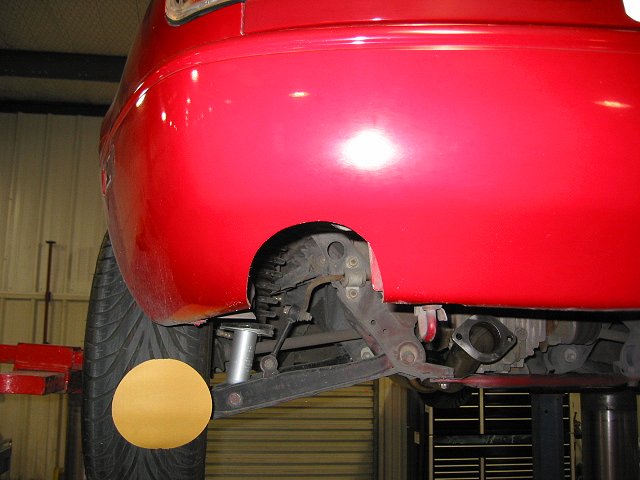
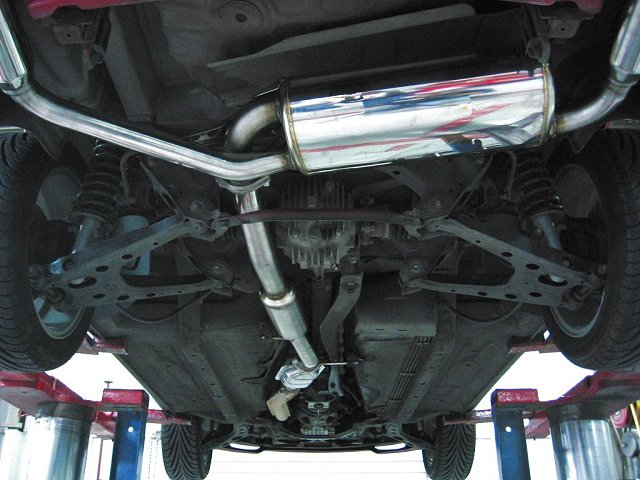
The original stock exhaust and then with the muffler removed.
Note the cross brace is loose. It makes it a lot easier to remove the muffler.
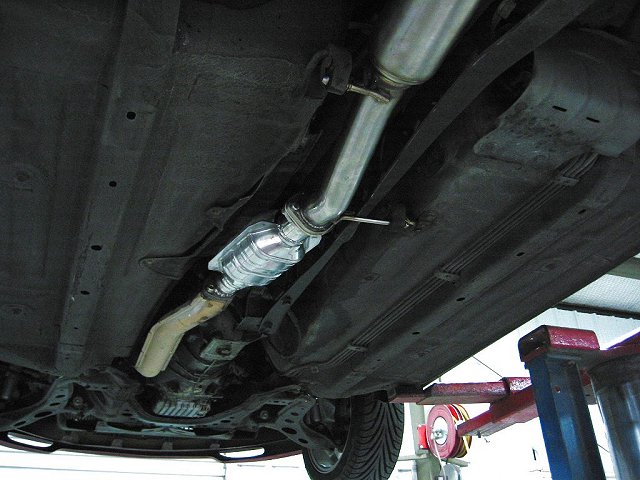
Next the cat came out after the bolts were lubed.
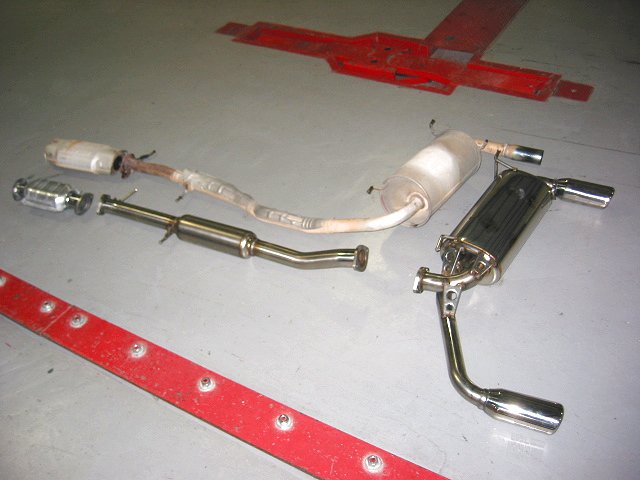
A side by side comparison of the stock exhaust and the Racing Beat Duals.
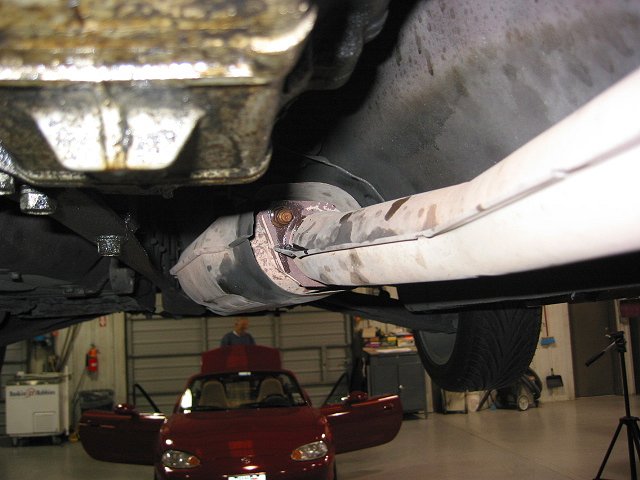
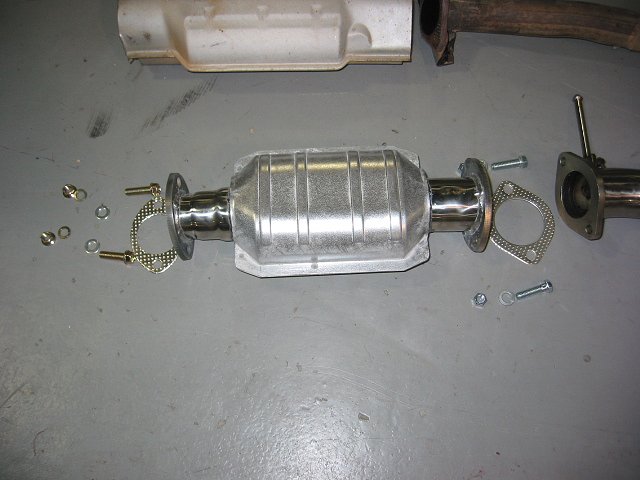
Closeup of the Flying Miata Catalytic converter.


The install is clean and simple with all needed hardware supplied.
Note two size bolts: larger for muffler flange and smaller for mid pipe to
cat flange.
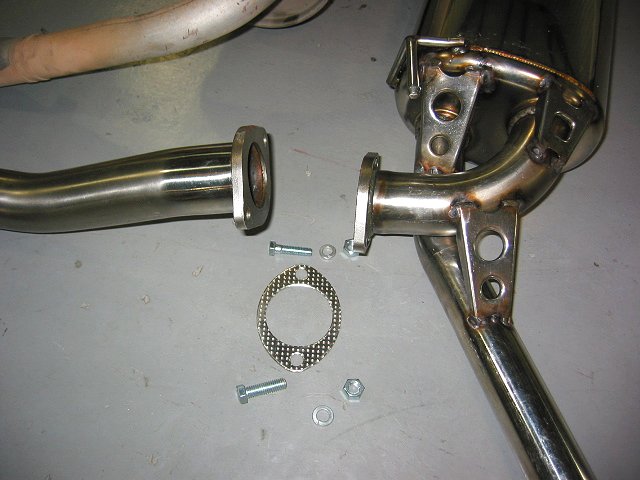
The cat bolted up to factory header with supplied bolts but only finger tight
for the moment and then the mid pipe.
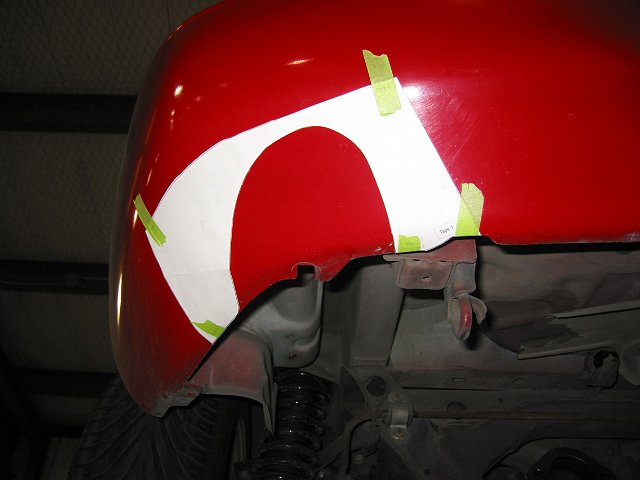

The scary part is cutting on the car. The template supplied is GREAT.
You just line up with the curve on the bottom edge of the skirt and tape in
place.
First my buddy Jeff made a very rough cut with an air powered jig saw.
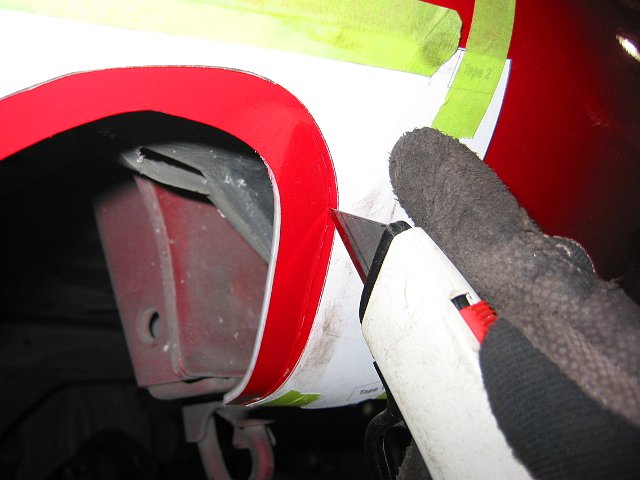

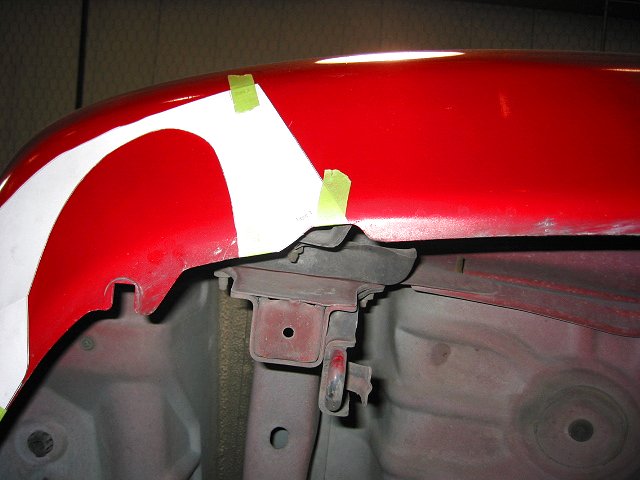
I followed up with a utility knife cutting to within about 1/8" of
the template.
I went very slow and repeated over the same lines until it cut through.
I finished up with some sand paper wrapped around a spray can.
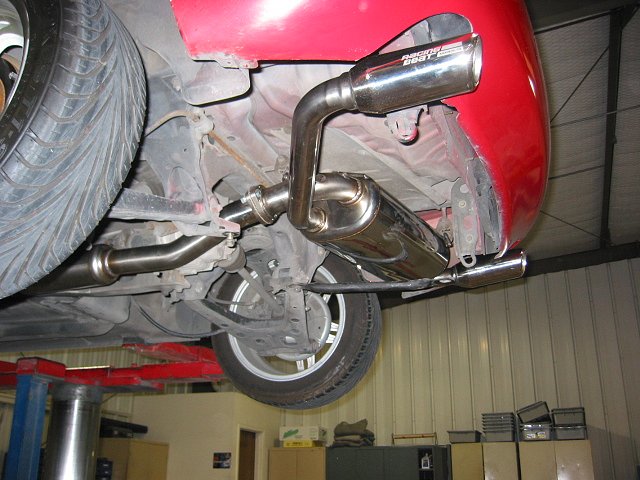
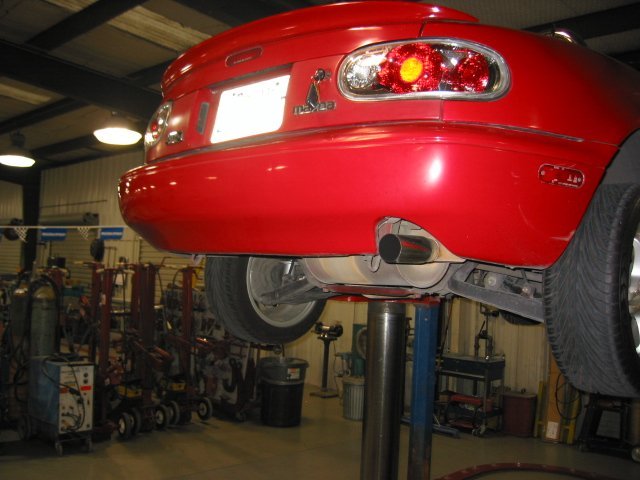
Final adjustments for fitment can be done done by rotating the muffler
using any combination of cat flange and muffler flange.
When it's like you want it, you can start to tighten all the bolts.
tip: have someone tighten the bolts while you hold the muffler in position.

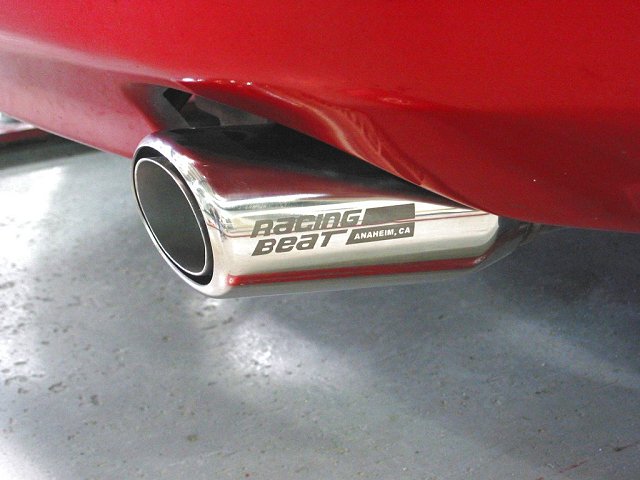
All in all a very nice looking, nice sounding and nice performing addition.
Install done in just under two hours with serveral breaks and taking
a long time on the cutout.