


|
|
|
|
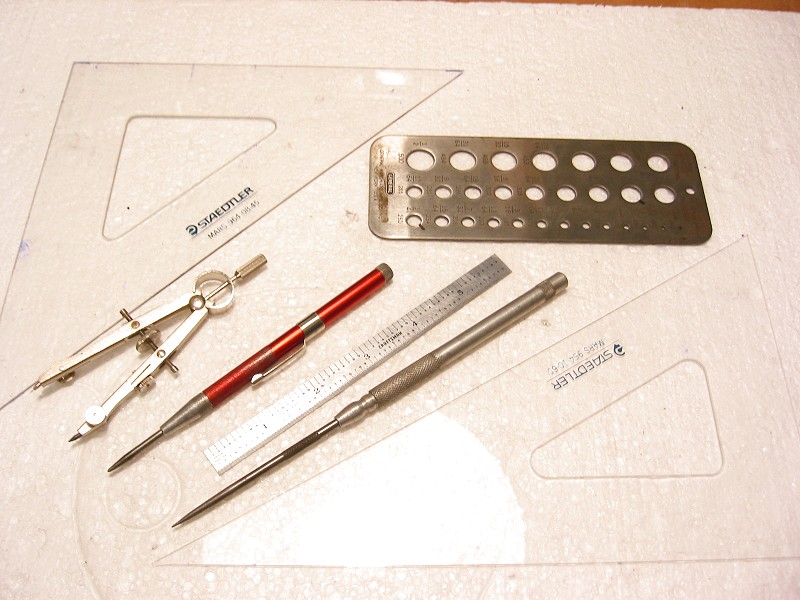
Then it all starts with some basic drafting tools. Laying out the power
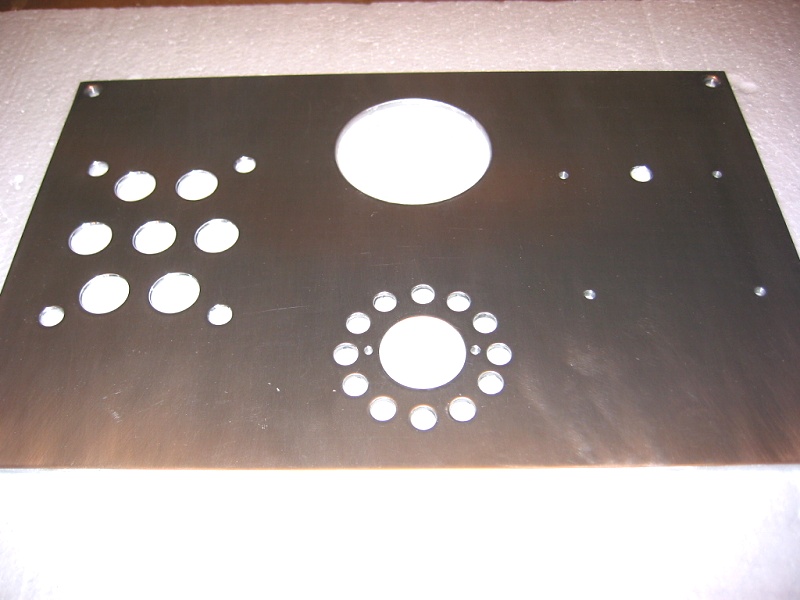
supply chassis top plate.

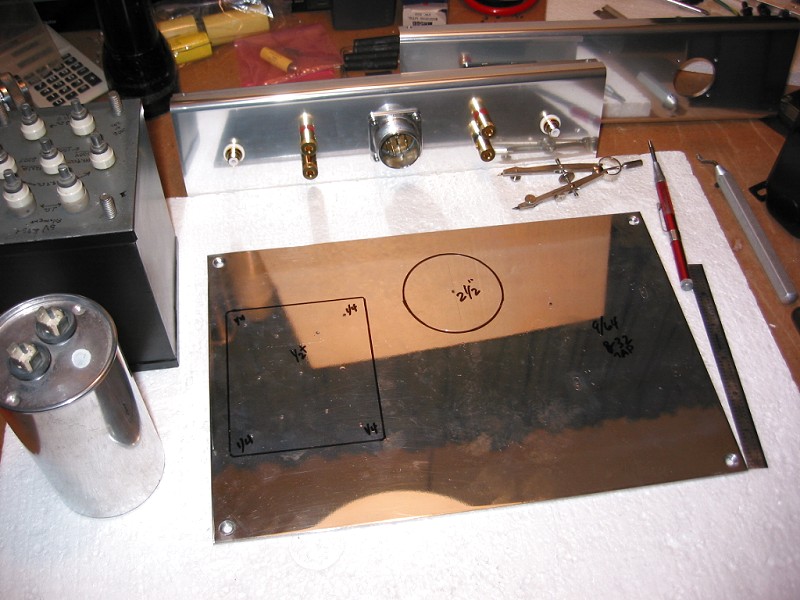
Rectifier layout and the back plates for both chassis.

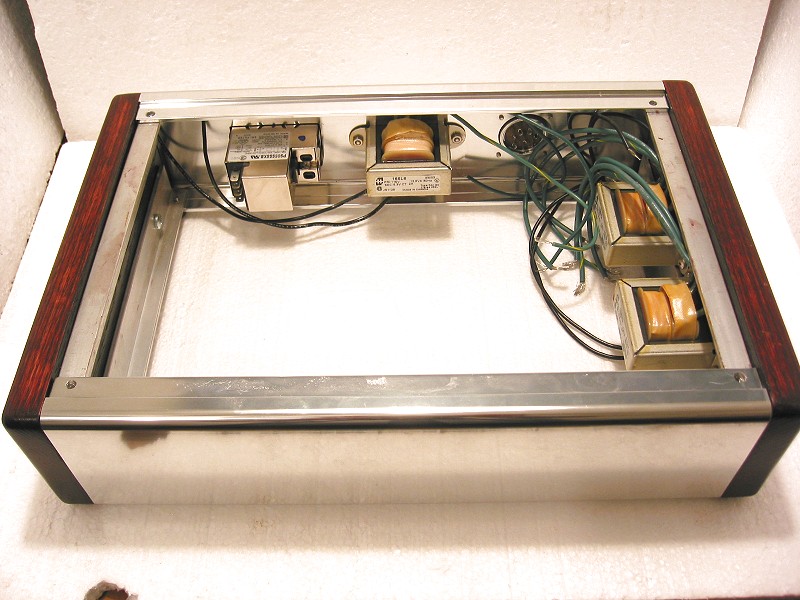
Power chassis with chokes mounted.
Output chassis with filament transformers mounted.
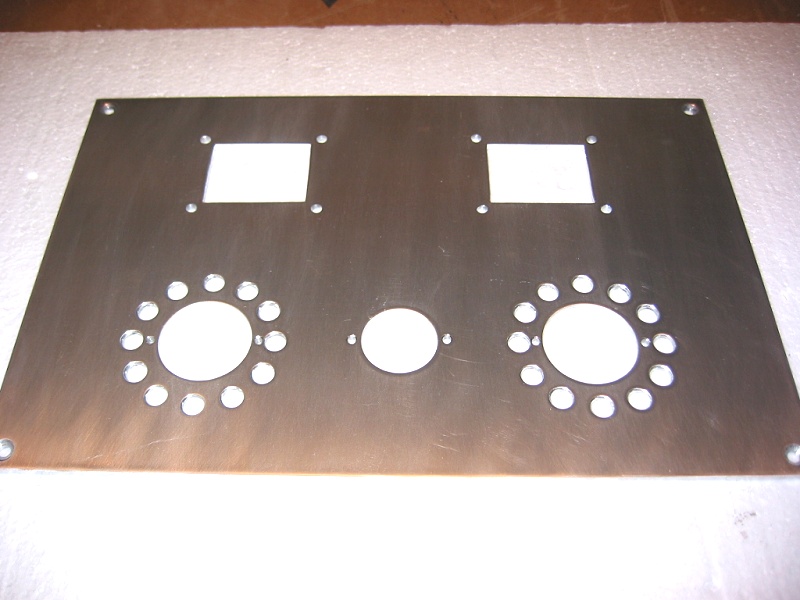
Power and Output chassis top plates cut. This was done at home using a
hand drill
with a uni-bit, hole saws, dremel, hand file, and a deburring tool.
At this point, they have been wet sanded with 220, 400 and finished with 600
grit paper.
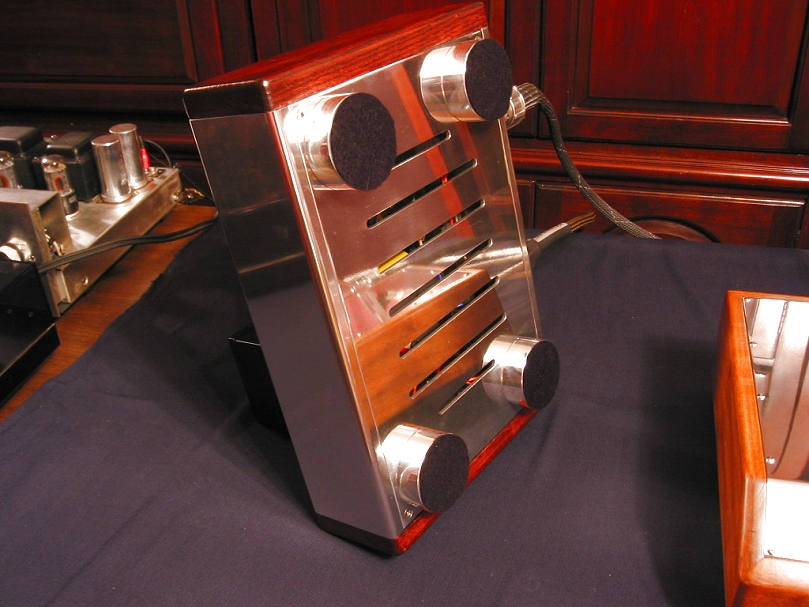
Next is polishing.
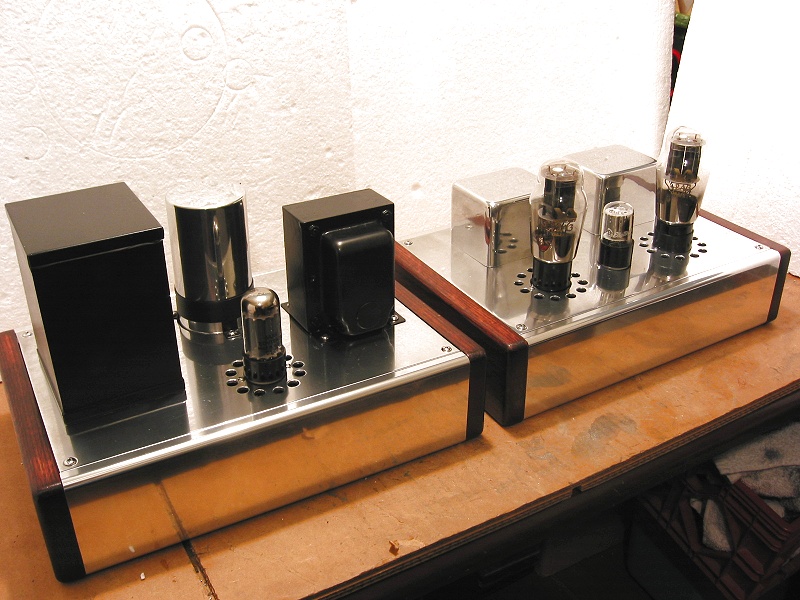

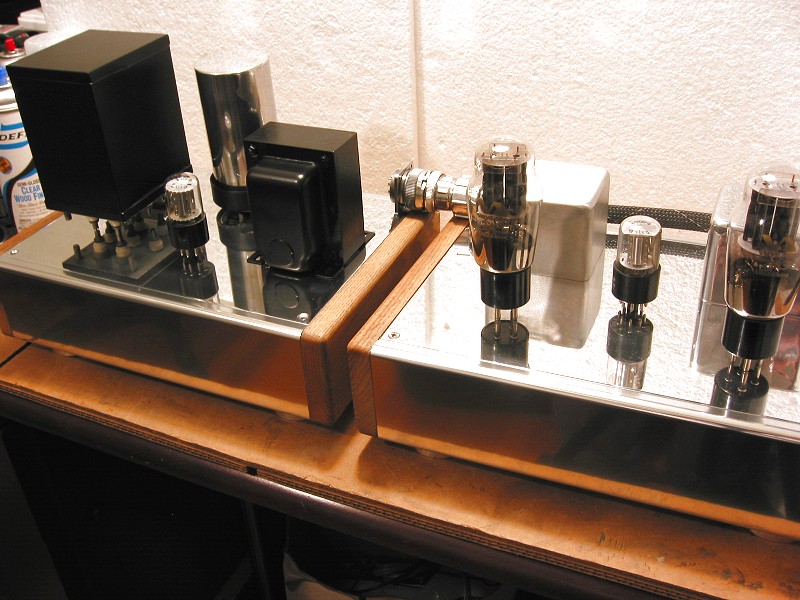
Here are the assembled units. I did a final wet sanding with some 1000
grit before hand polishing.
I polished these with SimiChrome, as were the stainless steel button head
fasteners.
![]()
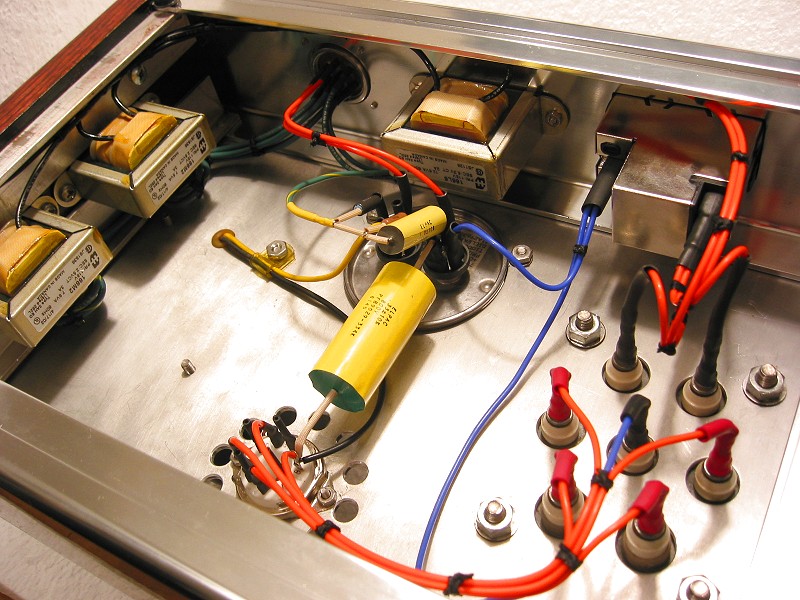
First some special lugs to attach to the power transformer.
Then, the power supply complete. It doesn't look like much but it required
a lot of time
to determine the layout as I went and implement very meticulously.

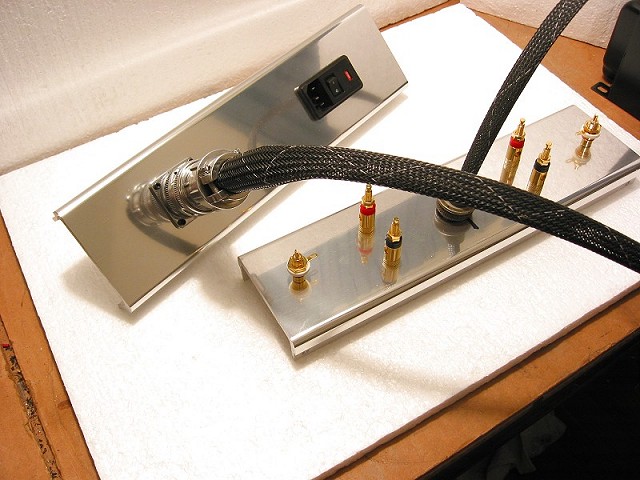
Next is the output section. Here I've added some impeadance switches for
the speakers
and upgraded the input jacks with some ones I got off Ebay of all places.

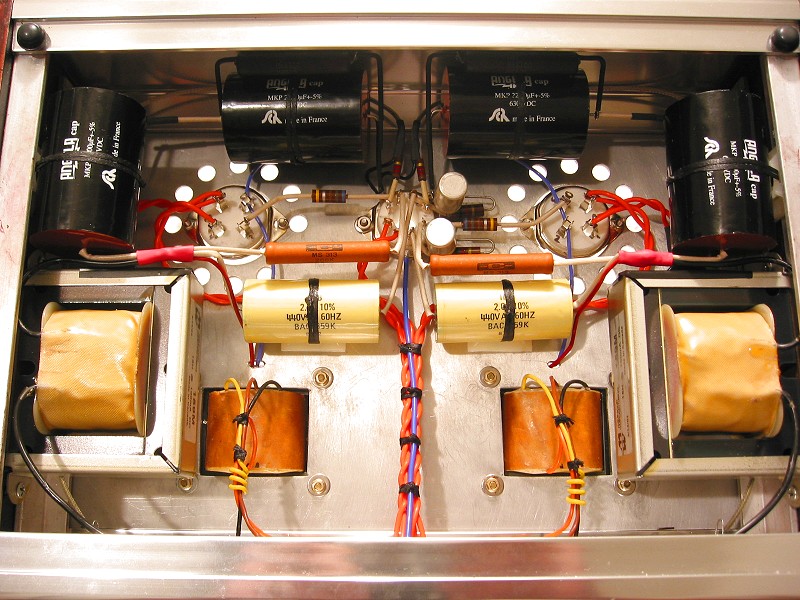
Then the layout starts, again working as I go, to optimize the circuit
paths.
Some initial placement, then basic wiring done, then caps and resistors.

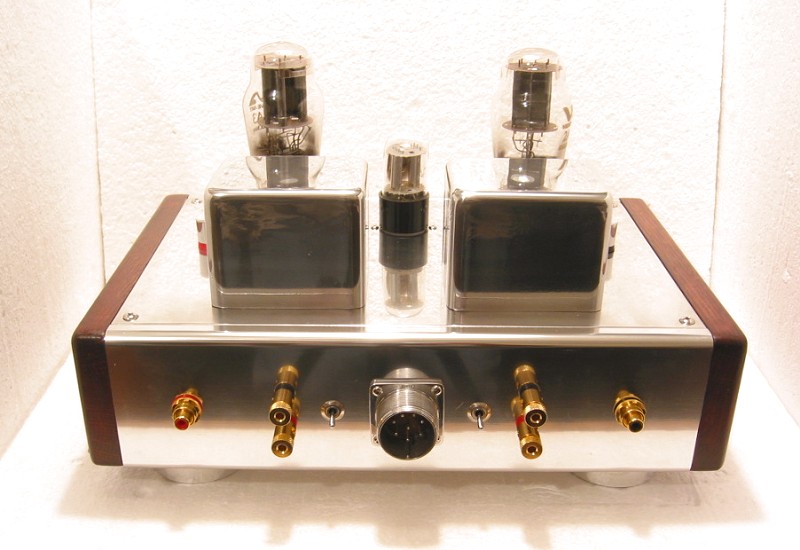
Build complete - now for powering up and burning in.
Oh yea, the bottom is even art.