The Widgets - A DIY Horn Project

These are affectionately call "The Widgets" because my buddy Widget
started these cabinets that I then modified and finished.
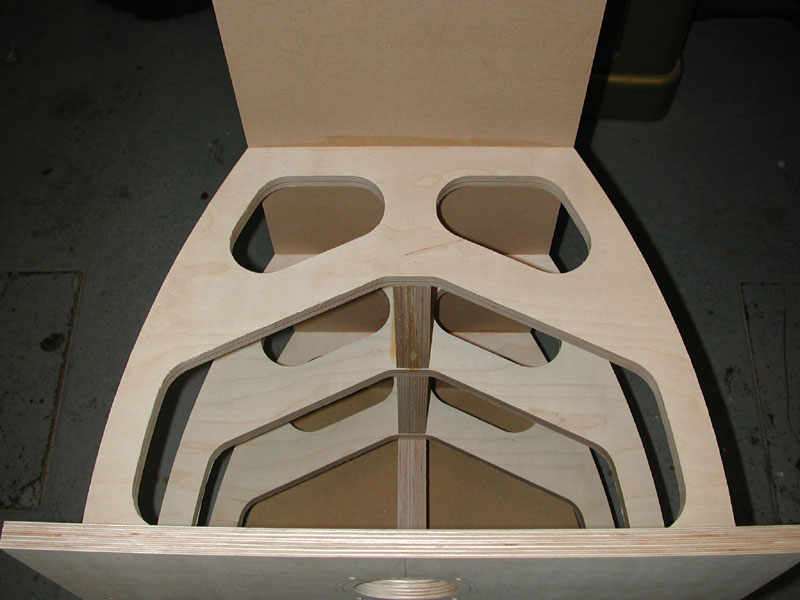
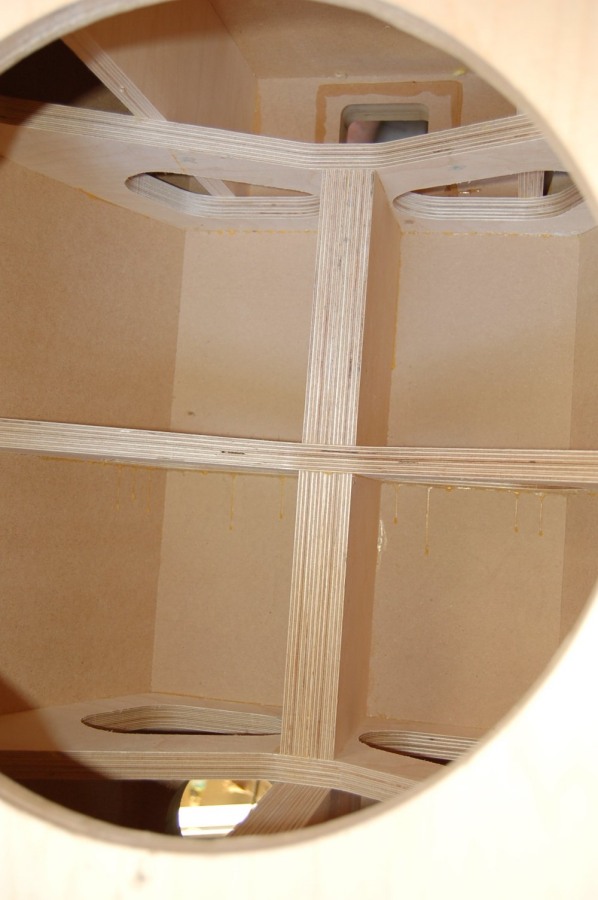
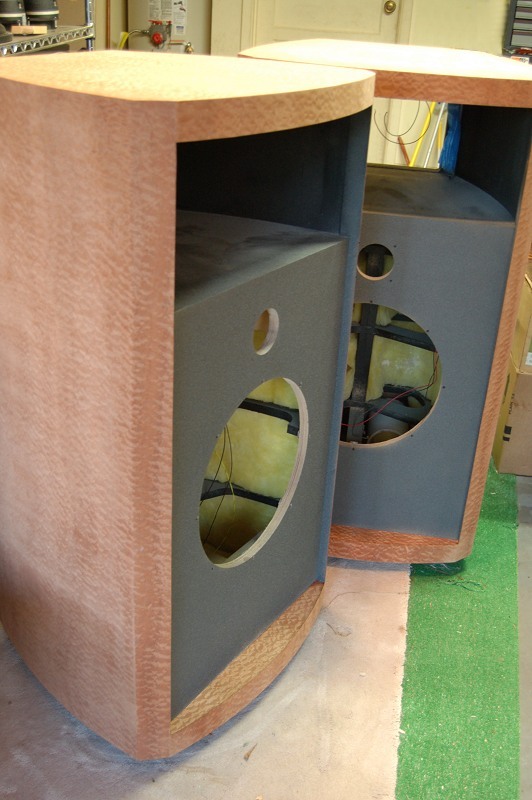
They are made from MDF and Baltic brich ply with CNC machined Baltic birch
internal bracing.
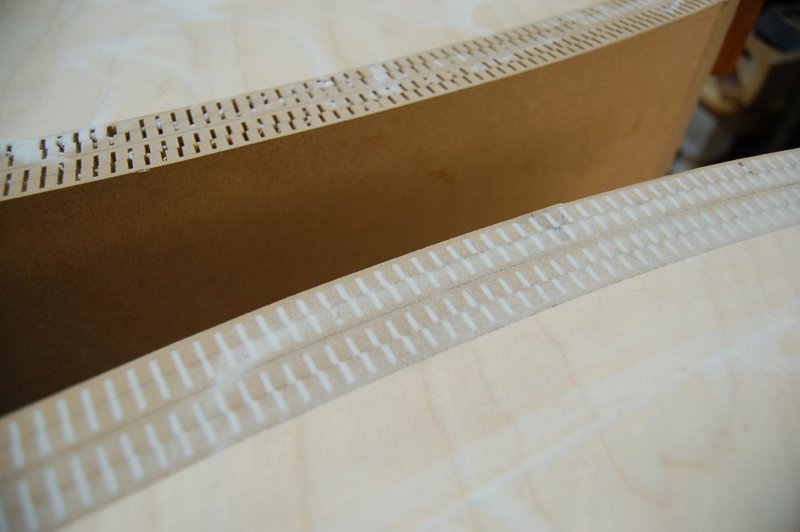
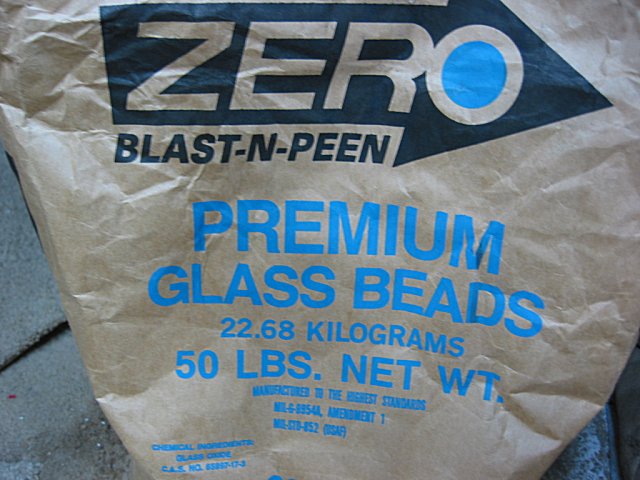
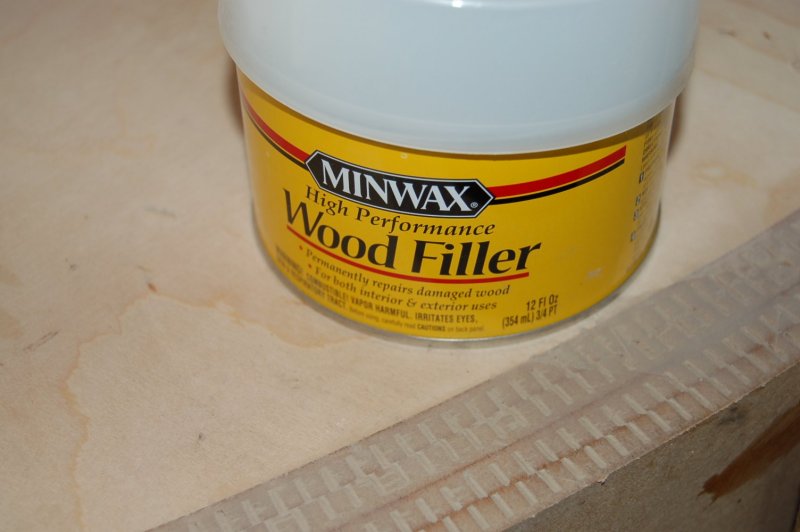

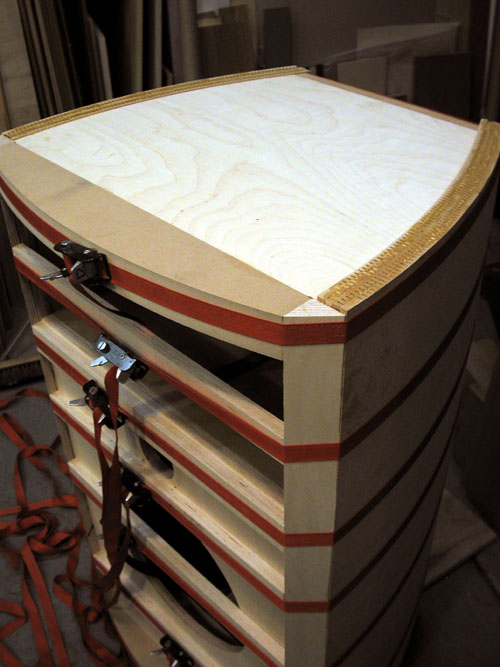
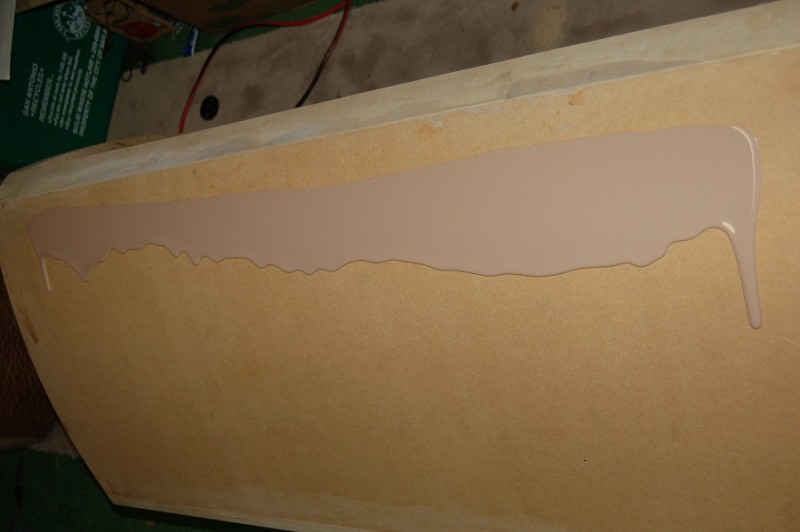
The sides are four layers of kerf MDF. I filled these with glass beads that
are finer than sand. I then capped it with syntheric wood filler.
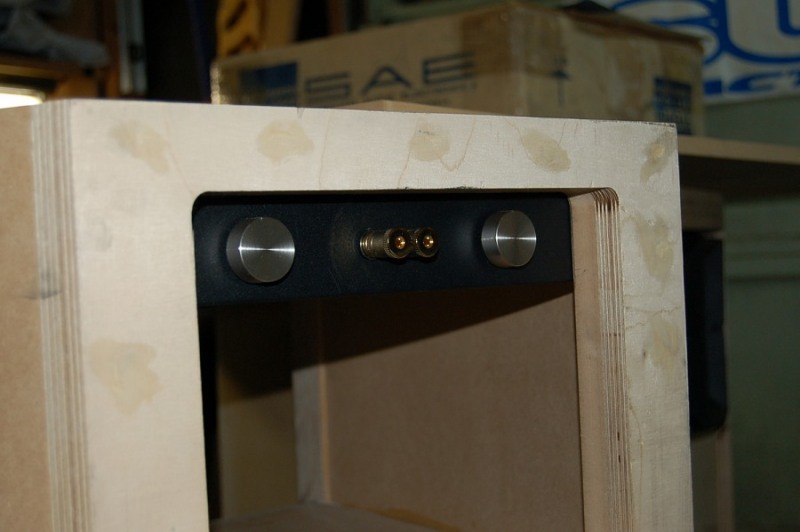
I filled in the original rear terminal cutouts.
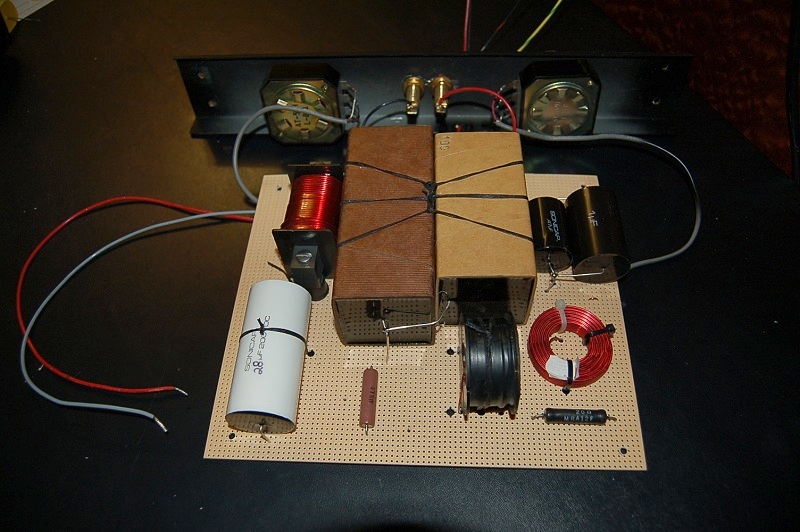
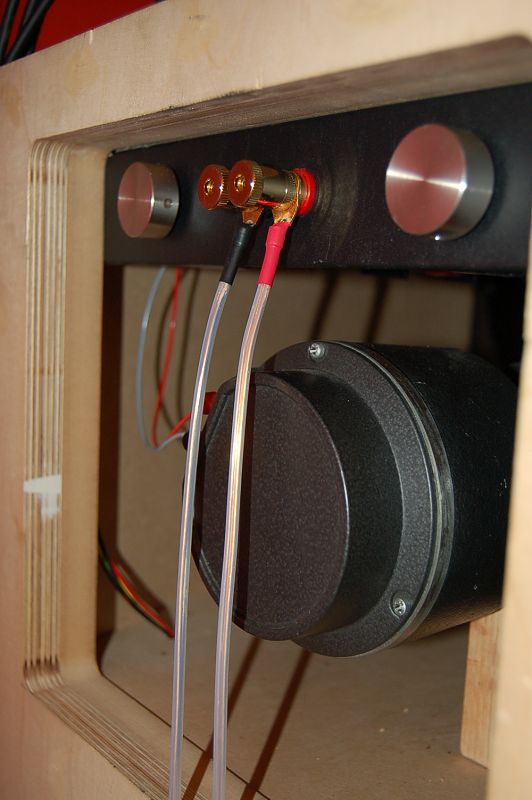

The first picture in this row shows the new crossover using Jupiter and Sonic
caps with mills resistors..
The powder coated steel channel holds the attenuators and speaker terminals.
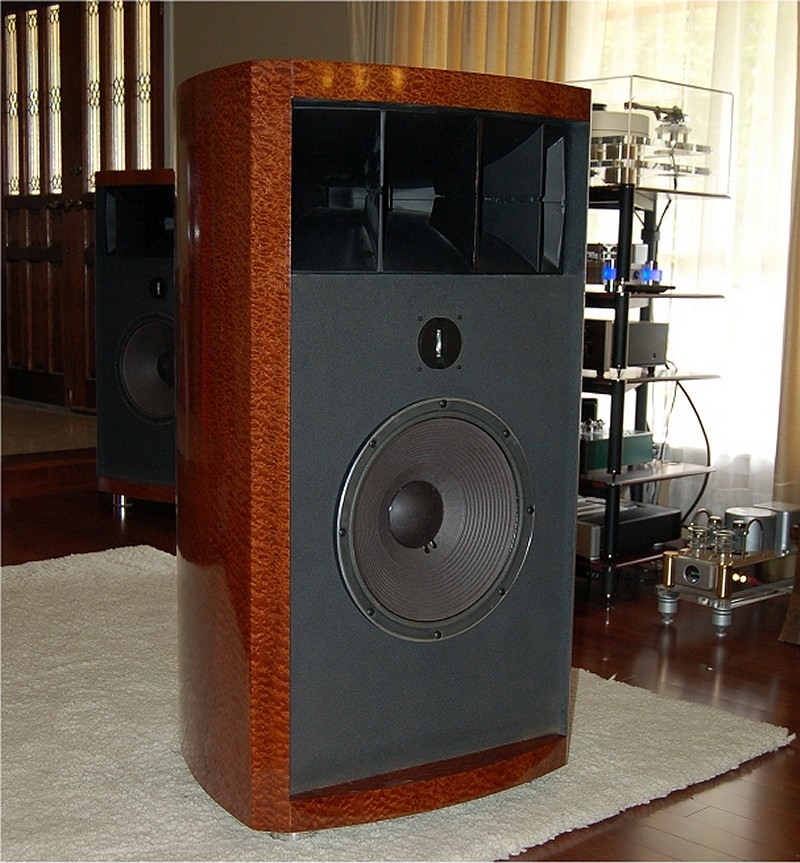
The last picture in this row shows the Altec 802-8G driver mounted to Altec
511B horn.
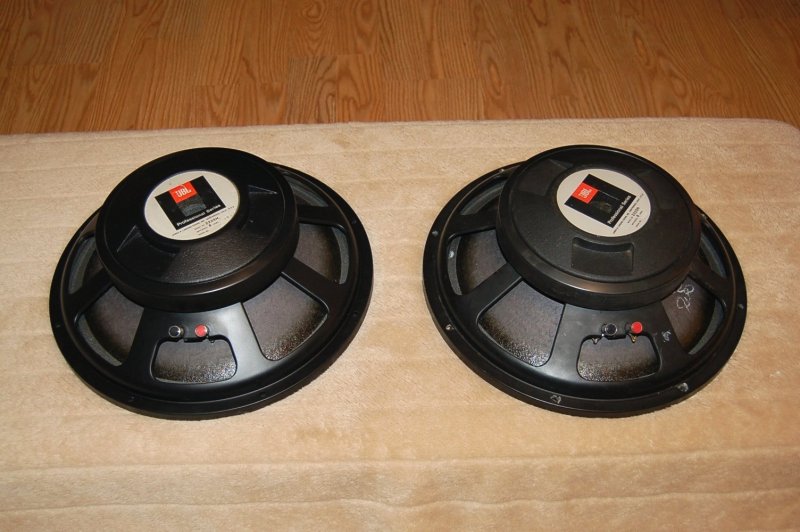

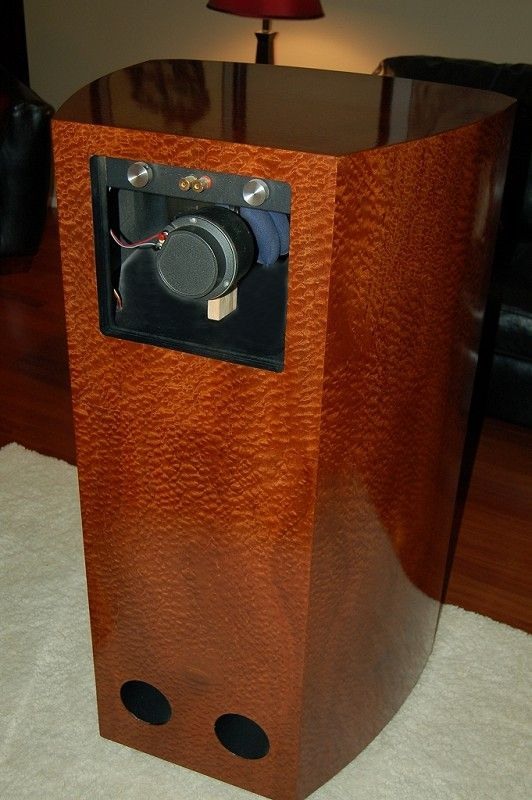
Here we have the JBL 2235H woofers and the JBL 077 slot tweeters.
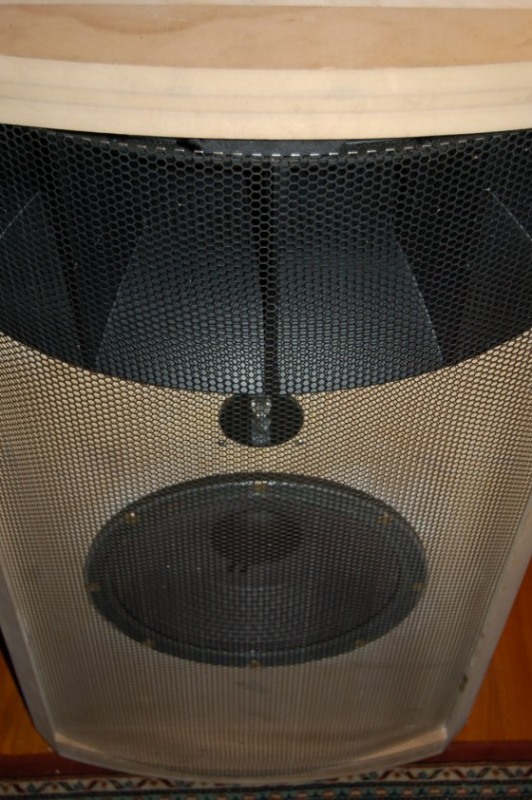
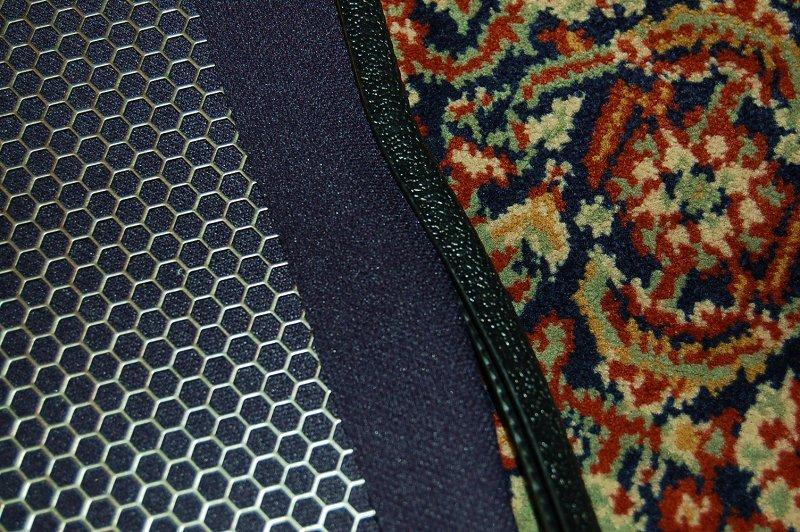
The last two pics show the perf metal grill and how it is covered using automotive
banding.
Yes, that is real JBL Blue grill cloth.


I played these like this for 3 1/2 years. I finally broke down and took them
apart for veneering.
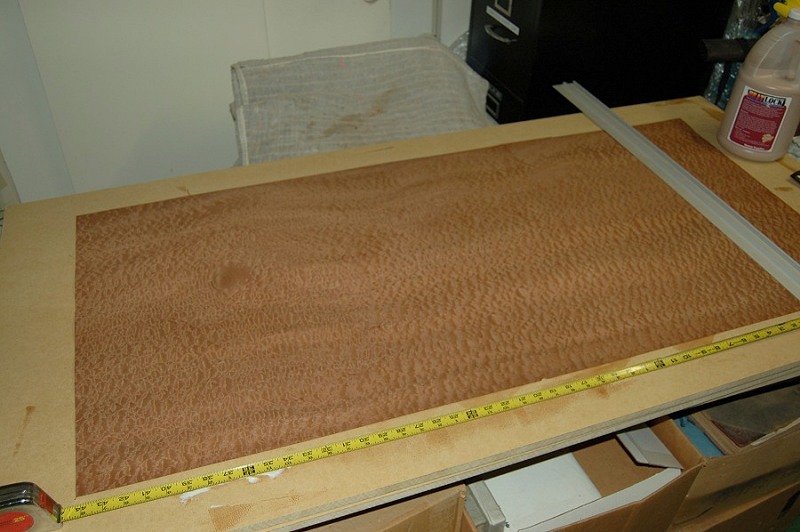
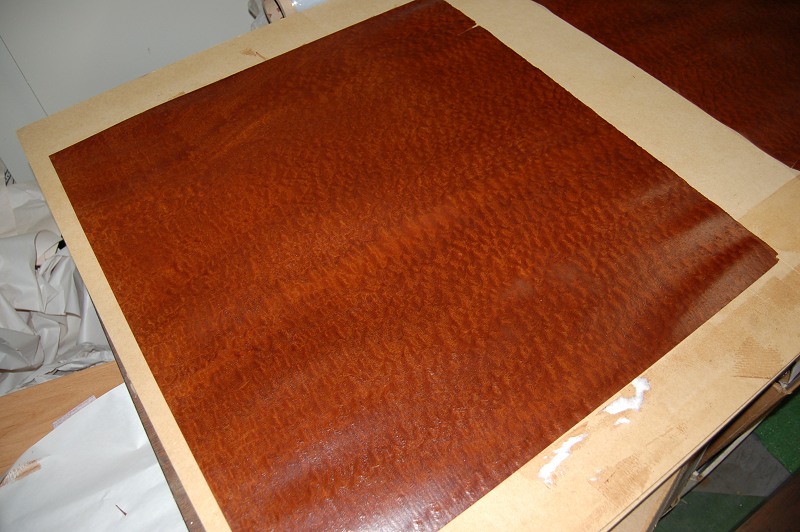
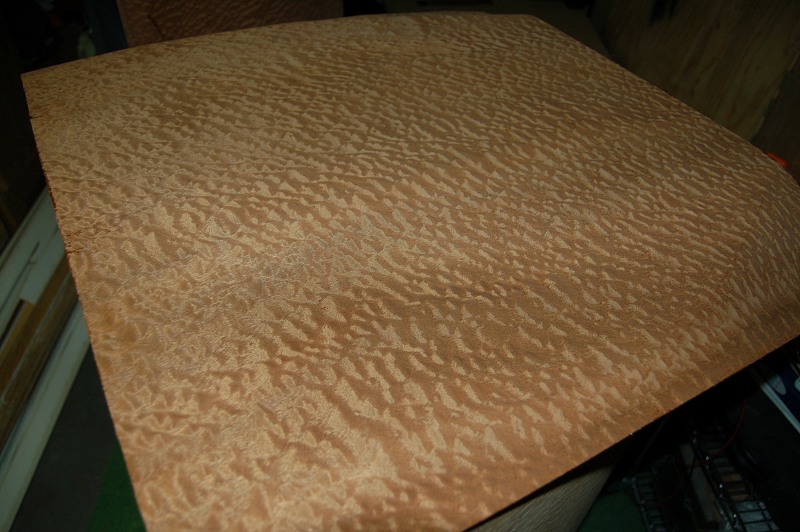
I start with a sheet of Sapele Pommele veneer. Spray it with Super-Soft 2™
Veneer Softener.
Then the solid wood doors I used to flatten the veneer after years in my garage.
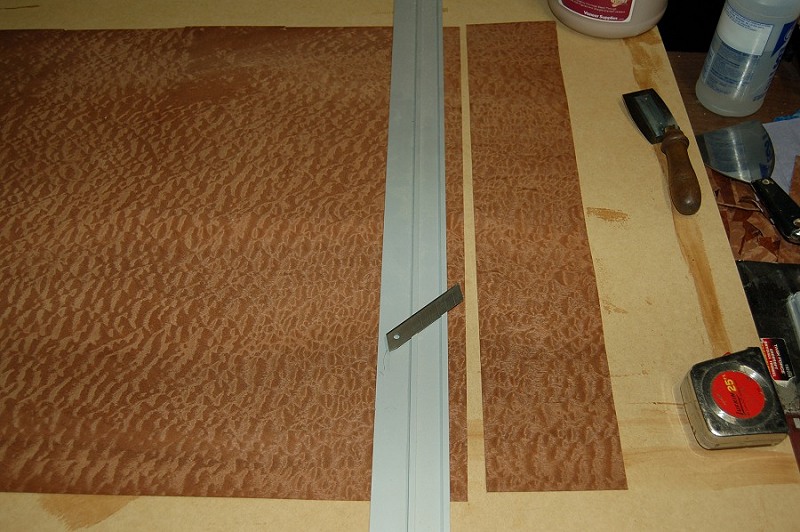
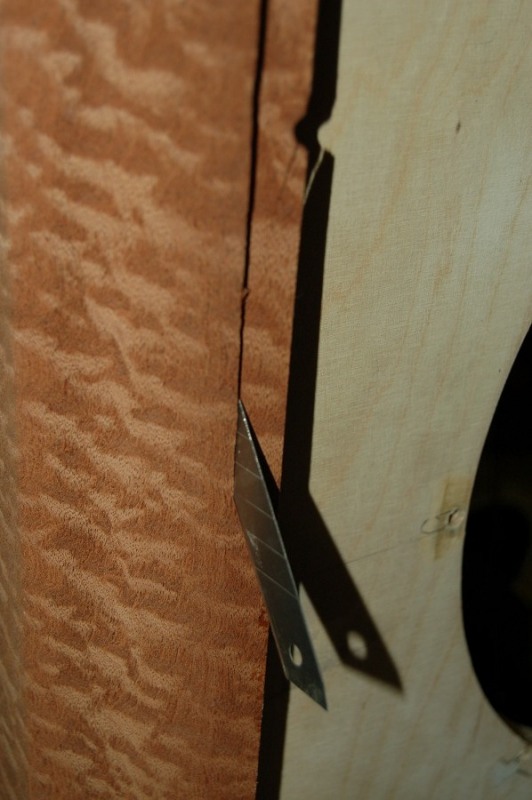
Last pic show the straight edge and unility blade I use to cut the veneer.
The veneer saw on the right is for some trim work.
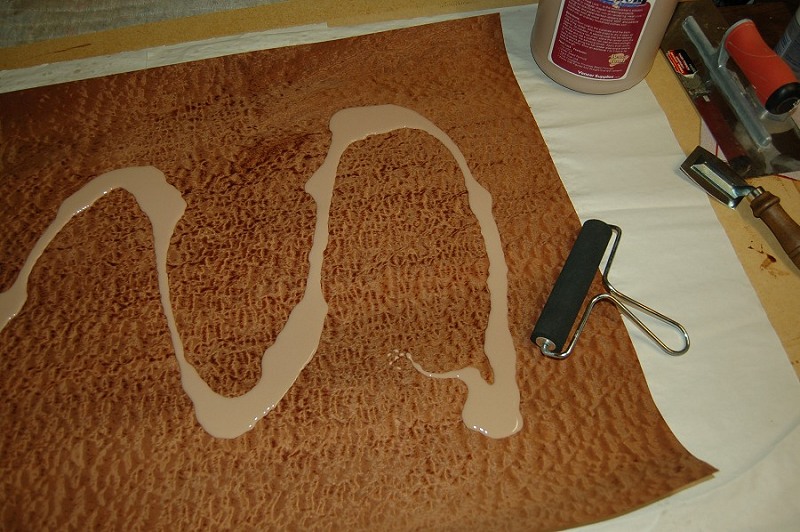

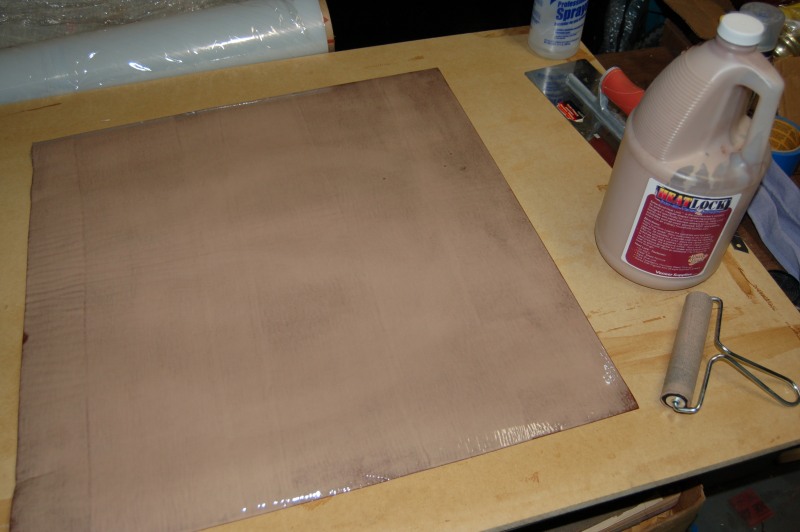
Now on to the glue (Better Bond Heat-Lock™ Veneer Glue). I pour it
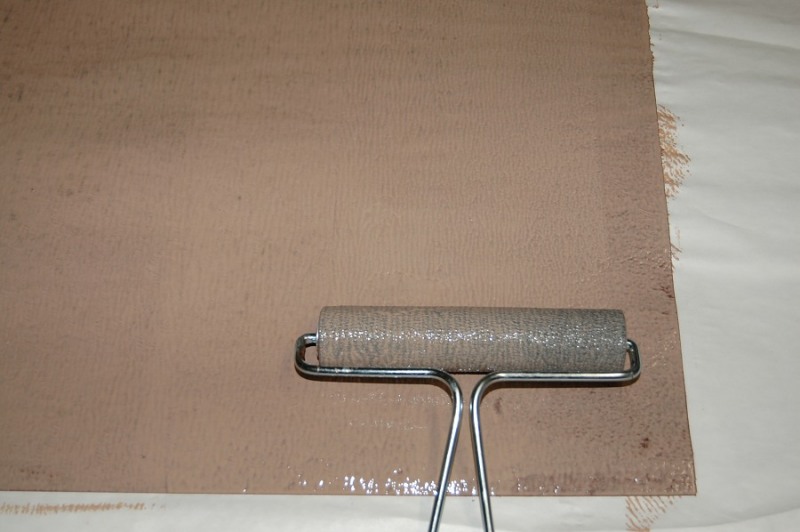
on and spread with a glue roller.
The veneer fully coated with glue and then onto the cabinet.
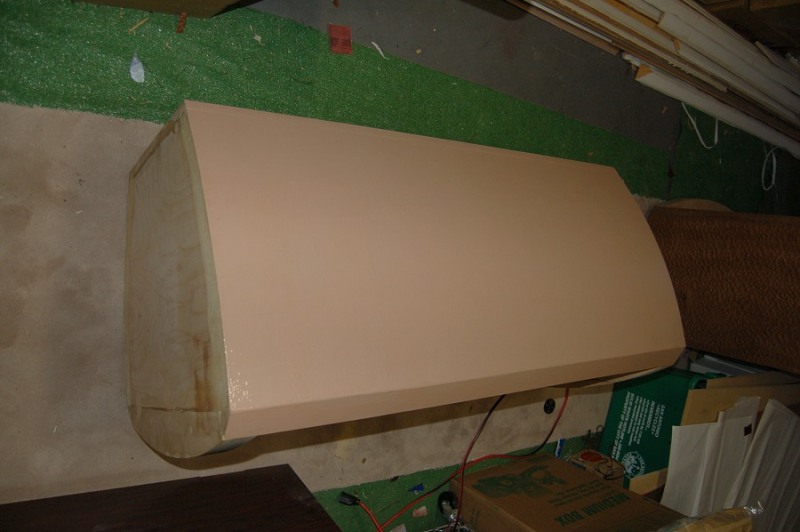

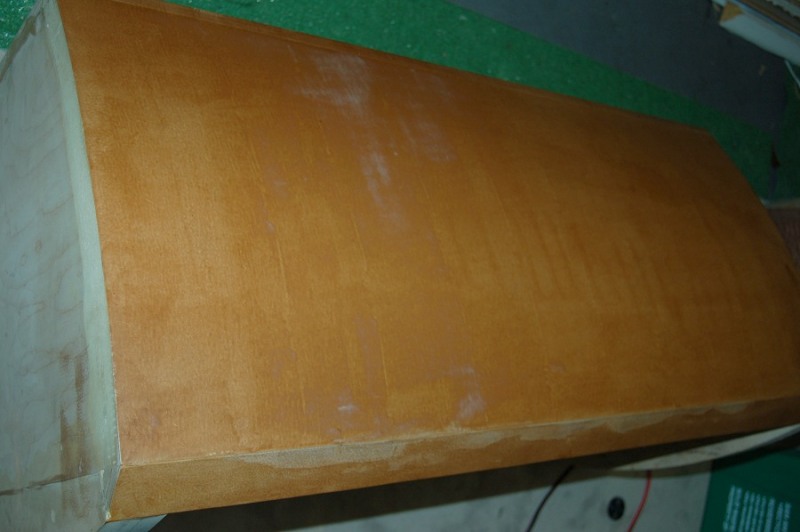
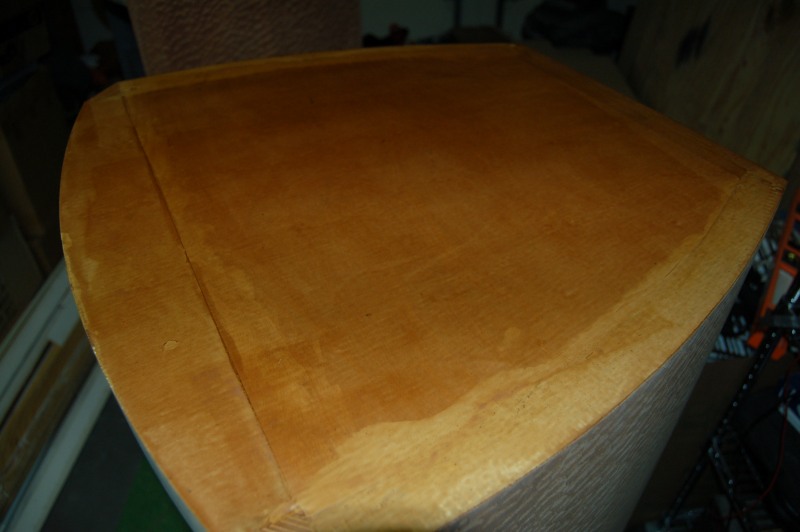
Spread the glue on the cabinet and wait for it to set. How the veneer and
cabinet look when the glue has set (about an hour).
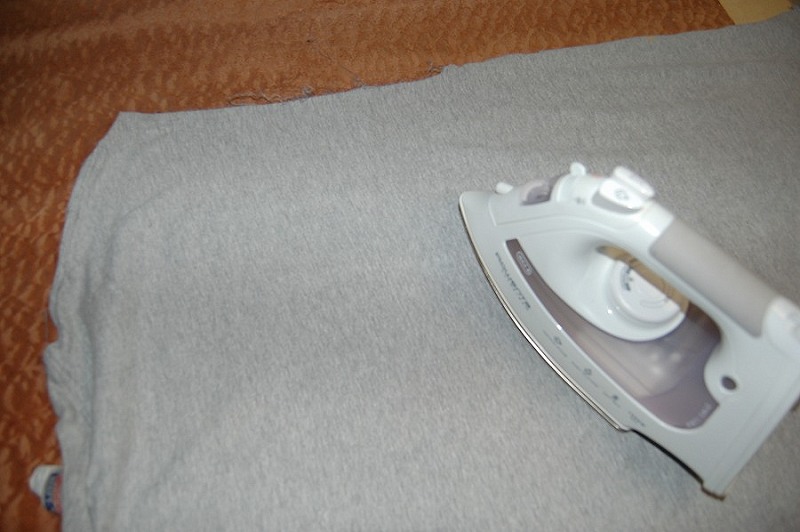
I used an old t-shirt and steam iron set to medium high to reactivate the
glue and make the bond.


I prefer to trim with a utility blade. If the veneer is really dry, the
veneer saw works well too.
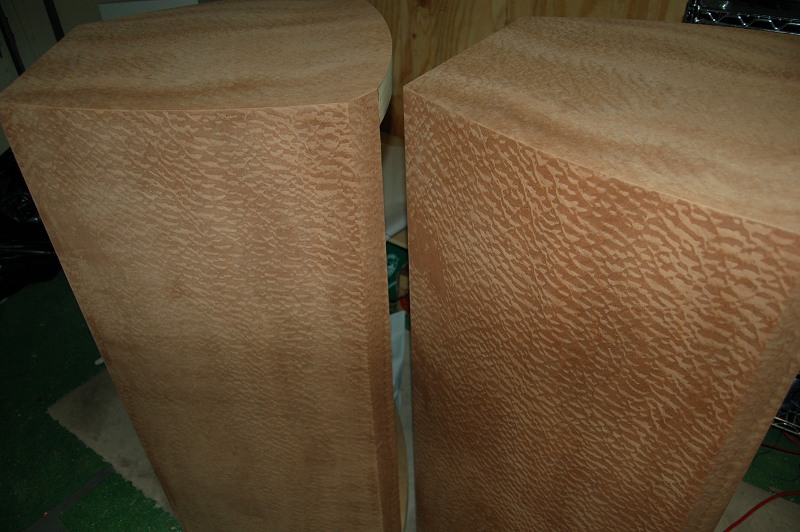
One speaker sides done and then both speaker sides done.
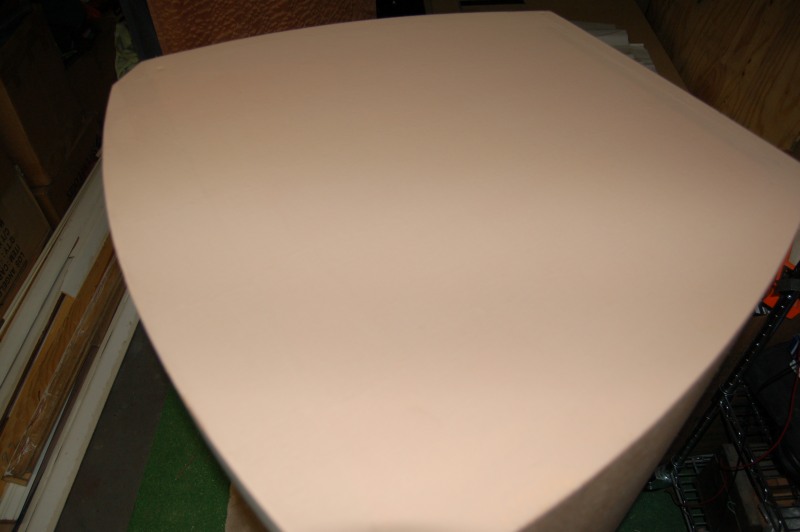
The front baffle is sprayed with Rustoleum multicolor textured paint.
The process starts all over again with the glue and drying for the tops of the cabinets.

Ironing on the flat sheet, trimming the sheet and two cabinets almost ready for the gloss finish.
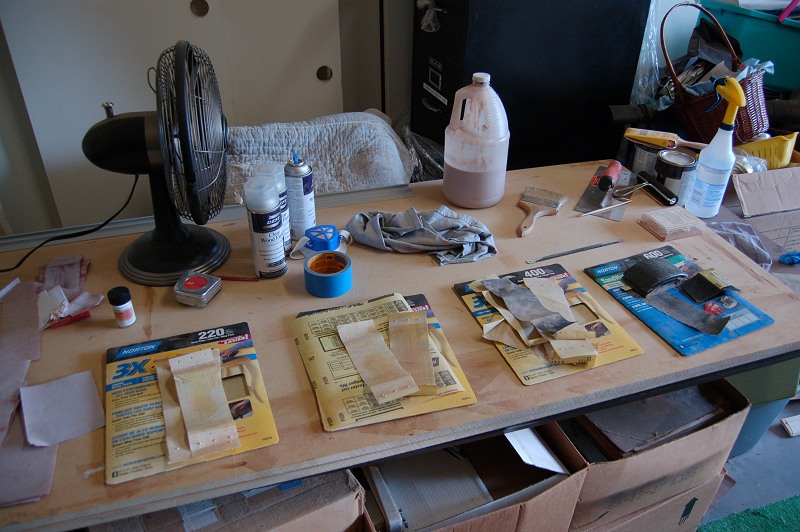
Veneering and paint are done. Now for a whole lot of sanding.
150 grit through 600 grit sandpaper. The first coat of DEFT gloss lacquer
finish is on.
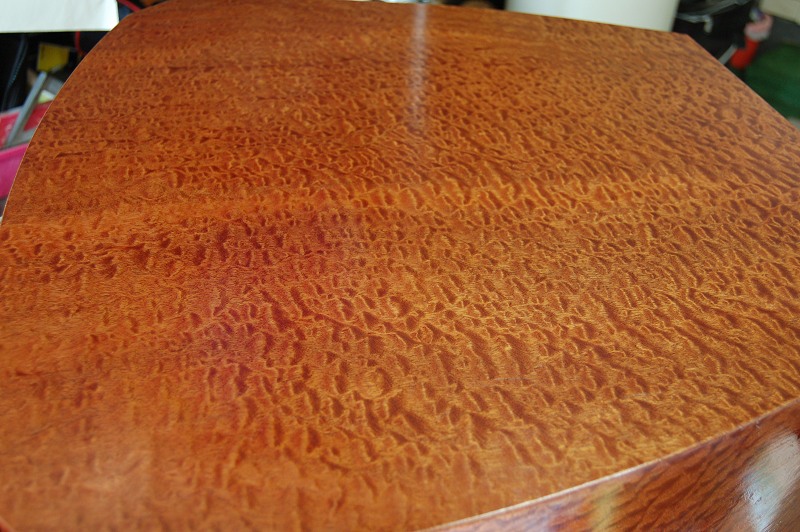
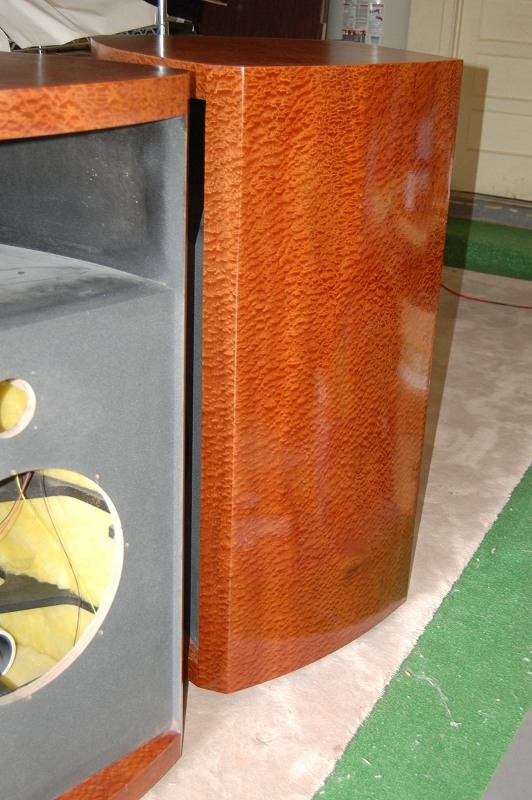
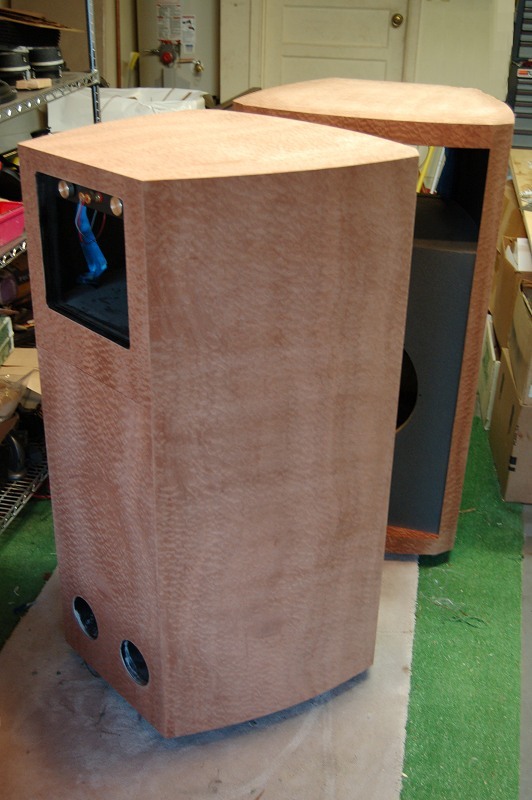
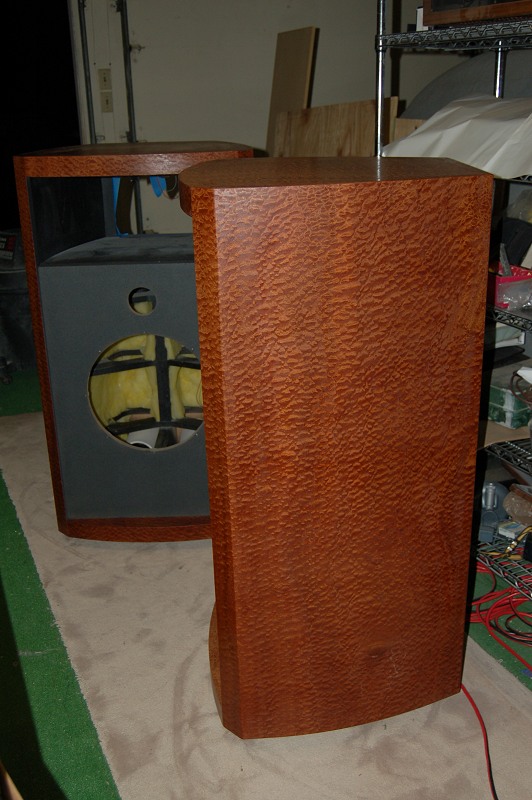
With three coats on and no buffing it is already looking pretty good.
The natural lighting helps to show the actual color of the sapele.
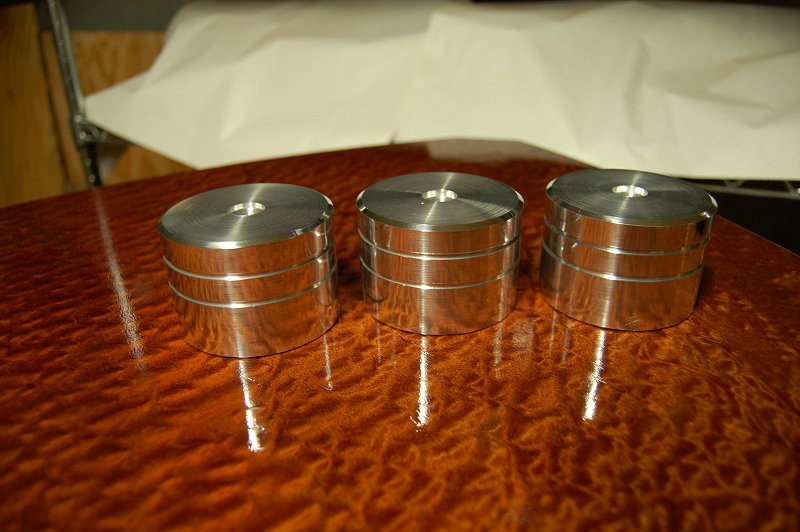
Three feet that will support a 300 pound speaker.
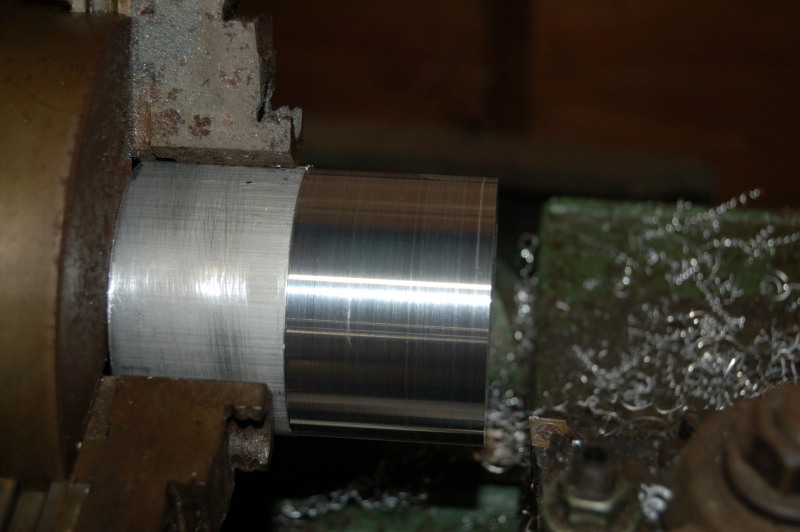
Now we side bar on how to make some feet for these speakers.
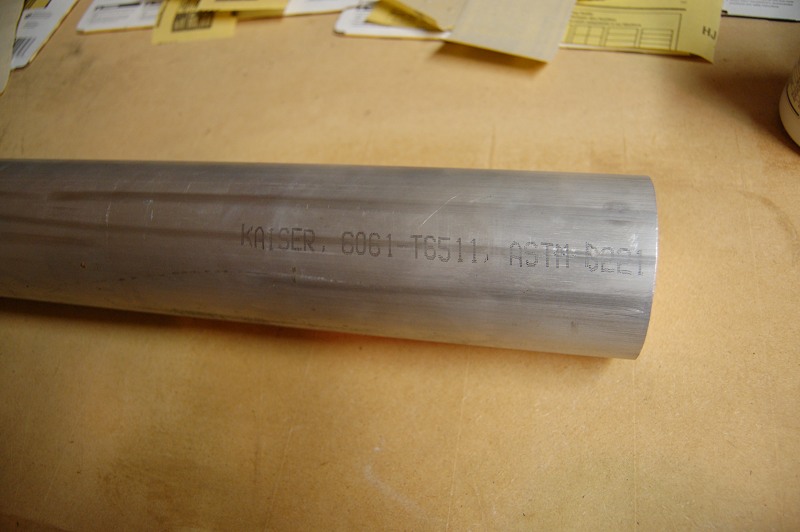
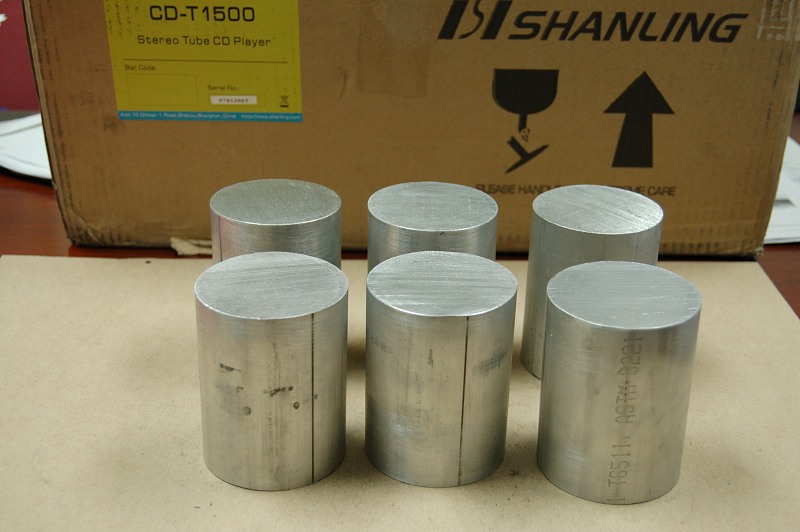
I start with two feet of 6061 billet aluminum bar, cut it into 4" slugs
and true it up on a metal lathe.
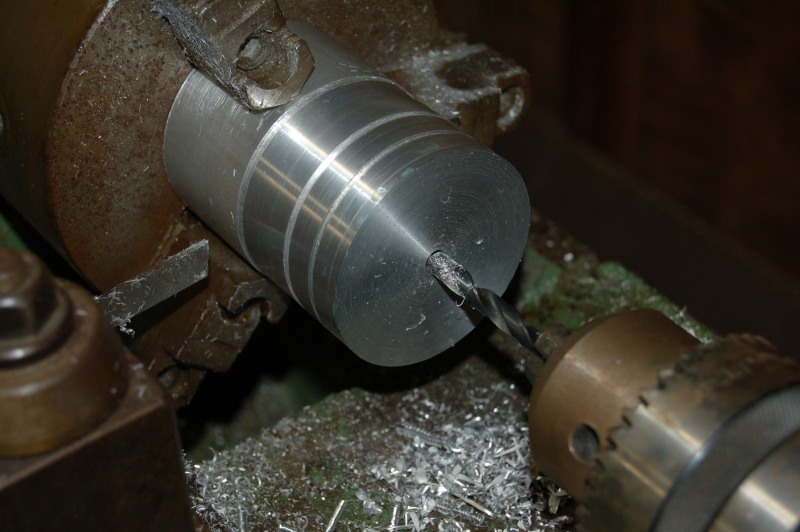
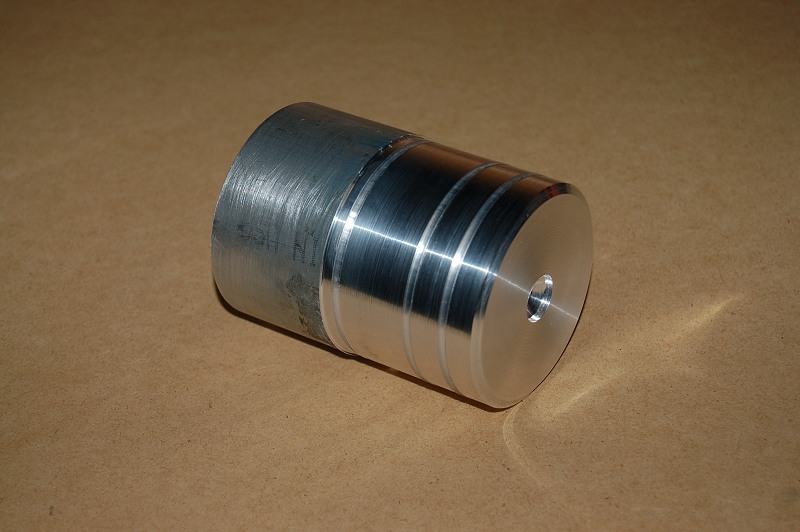
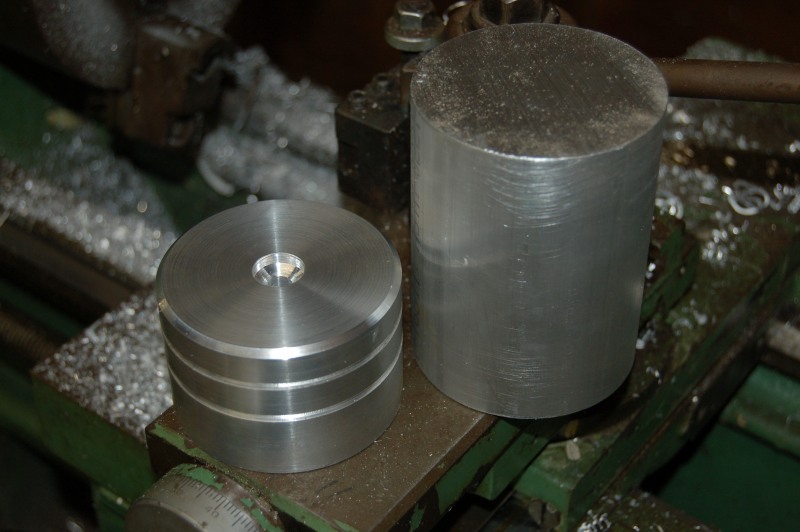
I add some grooves and drill it through, chamfer the end, cut it off the slug and I have a completed foot.
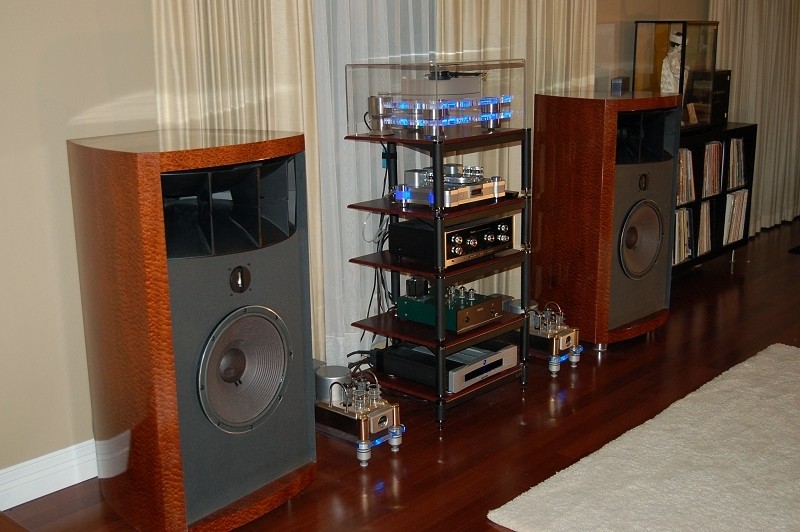
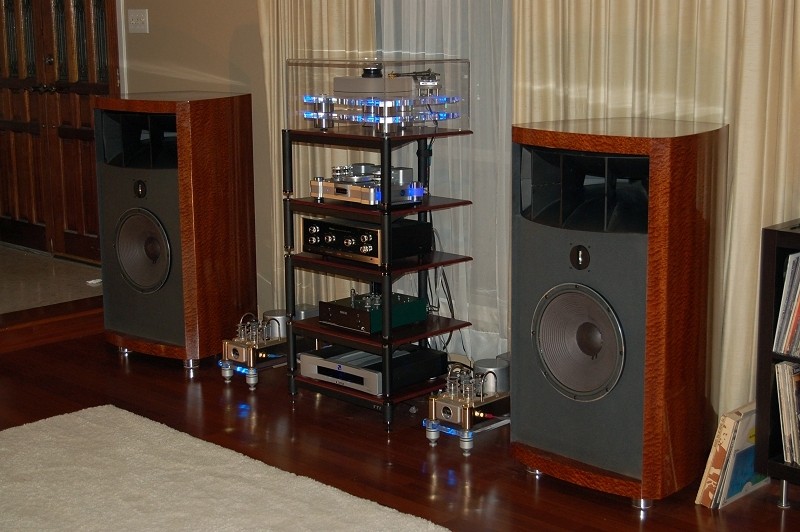
Almost done. I was going to install the full grills but my wife wants me
to cut them down so the big horn is not covered.
By the way, you may notice the left speaker dust cap is dented. That is what
you get when you leave a 6 year old with
a marshmellow gun alone for two mintues. :-(
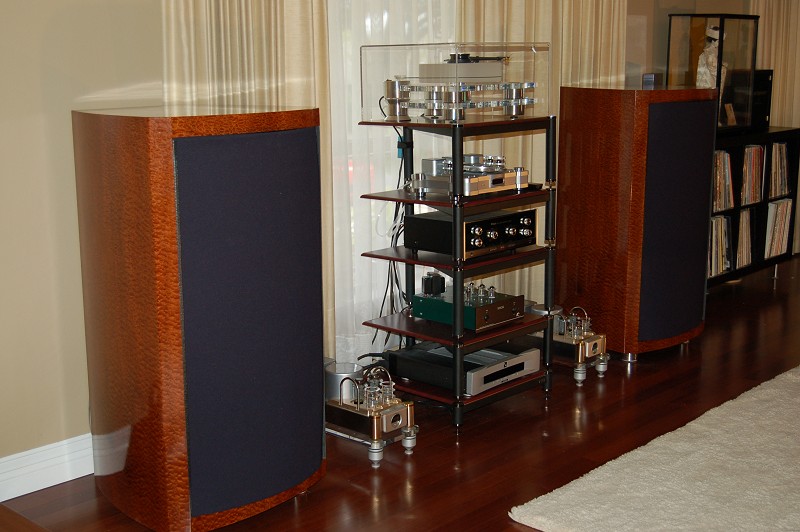
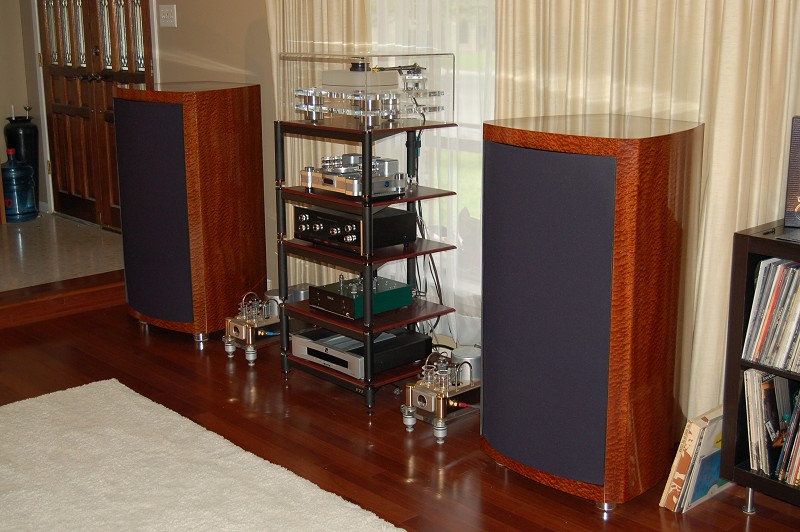
Now with the grills on.
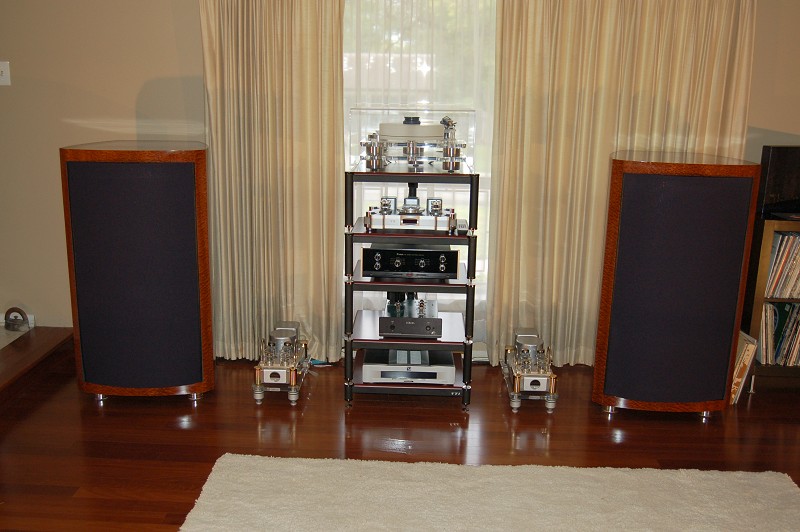
Final pictures